

What is the AeroPress
The AeroPress debuted in 2005. It was designed by Alan Adler, an American engineer who had previously designed flying discs, including the Aerobie. He arrived at the final version of the AeroPress after more than 30 prototypes. It is a brewer that combines immersion brewing, where the coffee is in contact with all the water from the start as in a French press, with filtration assisted by the pressure of a plunger. At the end, the plunger pushes the brew through a filter.
At our roastery in Pławęcino we treat the AeroPress as everyday and travel kit. The brewer itself weighs about 184 grams, and with the scoop and filter cap just under 220 grams. It fits easily in a backpack next to a flask of hot water. It works for a morning coffee at home and at a pop-up coffee bar at an event.
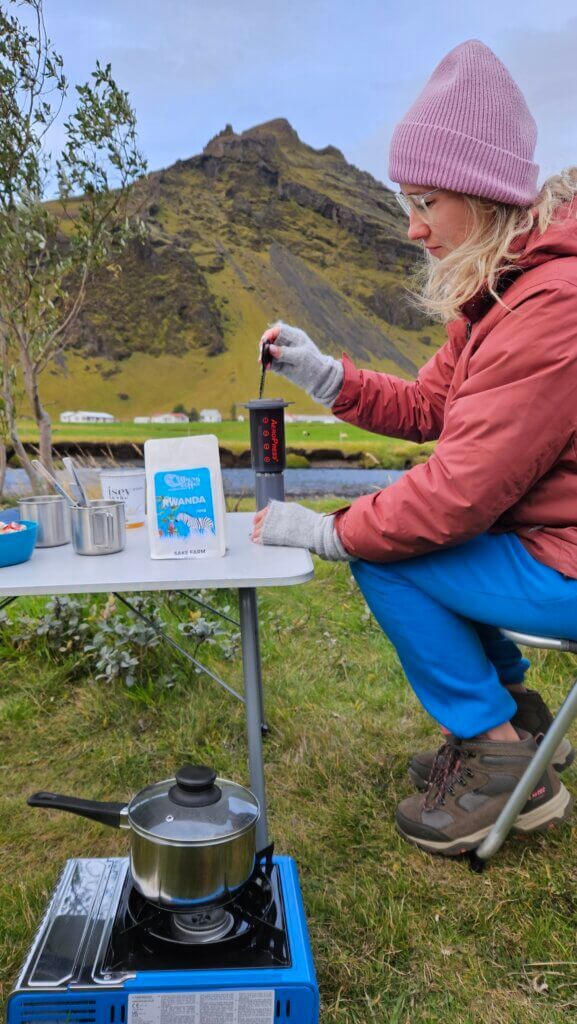
What you need to brew coffee in an AeroPress
To brew you need the AeroPress set, meaning the chamber, the plunger and the filter cap, a paper or metal filter, freshly ground coffee and hot water. The manufacturer’s basic recipe gives a temperature of 85°C, although you will also find recipes with water up to 90°C. A scale and timer are not essential, but they help with consistency if you want the same taste every time.
Original AeroPress paper micro-filters come in packs of 200 or 350. We also stock them in our AeroPress accessories category. A reusable metal filter lets through more coffee oils and finer coffee particles. The brew is fuller with a heavier body, but a little less clear than with a paper filter.
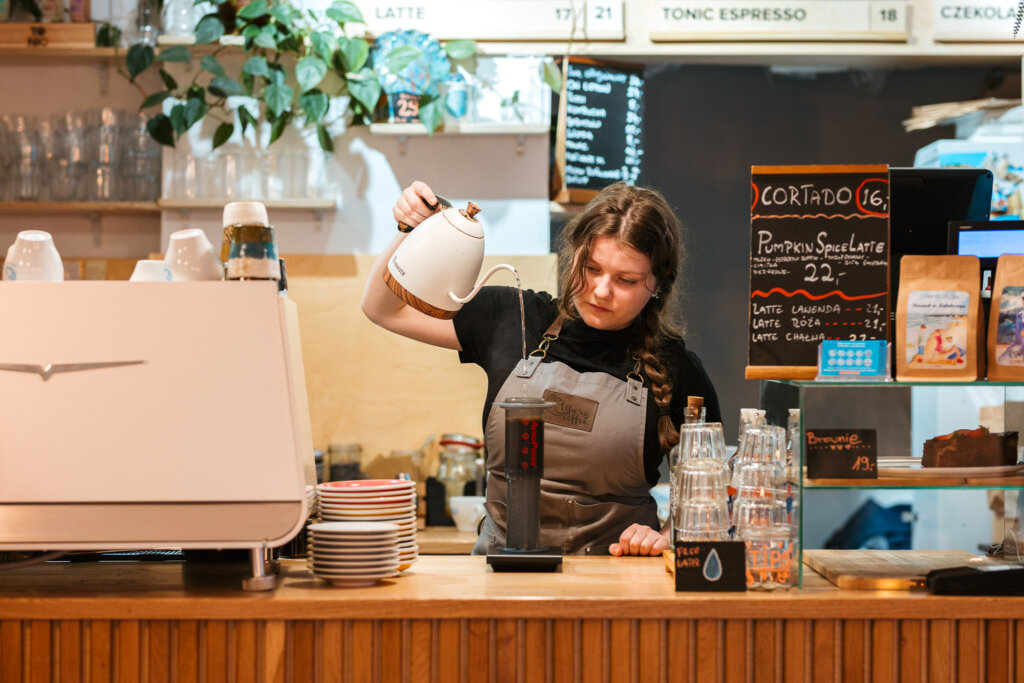
Which coffee and grind size for the AeroPress
The AeroPress handles every roast profile well. Light and medium roasts usually show more acidity and fruity origin notes, while a darker roast brings more roasty and caramel notes. That is a general tendency, not a strict rule, so it is worth experimenting with whatever you have in the cupboard. Set the grind between filter and espresso: finer than for a moka pot, coarser than for an espresso machine.
In our shop, coffees chosen for this method have their own category, coffee for AeroPress. If you do not want to experiment, start there.
The classic method: AeroPress step by step
Rinse the paper filter with hot water directly in the filter cap to get rid of any papery taste. Then screw the cap onto the bottom of the chamber and set the AeroPress on a mug.
Add 15 g of medium-fine ground coffee and pour in all the water up to the 200 ml mark, a ratio of about 1:13. You can pour in only part of the water first and wait a moment for the bloom. With the AeroPress, though, this step is not essential the way it is with classic pour-over.
Stir for a few seconds and place the plunger on the chamber, but do not press yet. About a minute after pouring, start pressing slowly, without using much force.
The whole press should take 20 to 40 seconds. If you have to push hard, the grind is too fine for this dose and time.
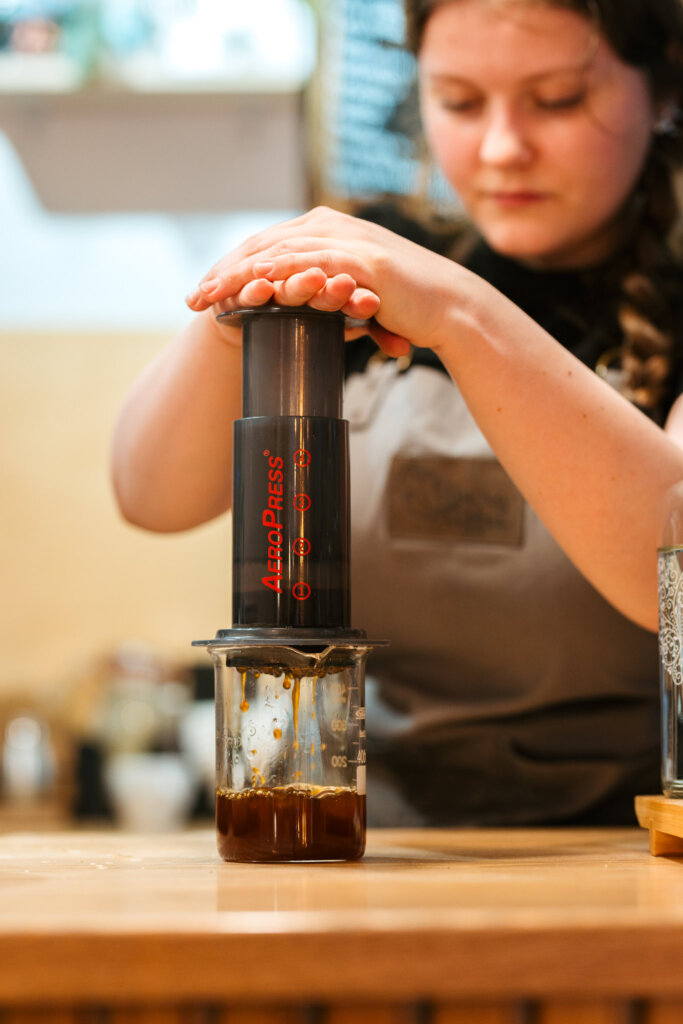
The inverted method: what is different and why you need to be careful
In the inverted method you put the plunger into the chamber straight away and stand the whole thing upside down, plunger on the worktop. You pour water onto the coffee directly in the chamber, with no filter at the bottom. The brew therefore does not start dripping before you are ready to press. This lets you extend the brew to 2-3 minutes, sometimes longer, without any of the coffee leaking through early.
The AeroPress manufacturer currently advises against this method and recommends the standard position. The main reason is that the brewer is less stable standing on its plunger and could scald you if it tips over. If you still want to try it, work on a stable worktop away from the edge and do not leave the assembled AeroPress unattended.
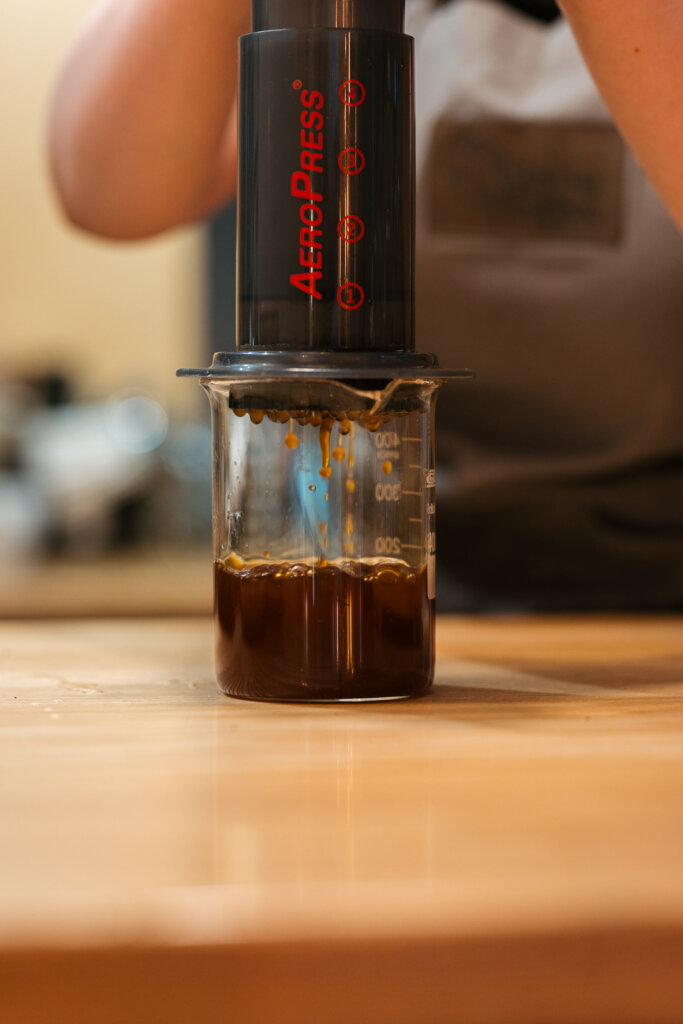
Comparison table: classic versus inverted
Both methods make good coffee. They differ mainly in when the brew meets the filter and in how stable the set-up is during brewing.
| Criterion | Classic method | Inverted method |
|---|---|---|
| When the brew meets the filter | right after pouring | only just before pressing |
| Stability during brewing | high, stands on the mug | lower, stands on the plunger |
| Manufacturer’s recommendation | standard method | officially discouraged |
| Control over brew time | limited to about a minute before pressing | full, can be extended to several minutes |
| Difficulty | easier for beginners | takes practice when flipping |
The most common AeroPress mistakes
A grind that is too fine clogs the filter and makes pressing hard work. Water that is too hot, with the rest of the recipe unchanged, draws bitter and astringent notes out of the coffee more easily, especially with darker roasts.
If you do not stir after pouring, some of the coffee can stay dry on top and the brew will be uneven. Pressing too fast and too hard at the end squeezes extra bitterness out of the grounds. It is better to stop at the first sign of resistance.
How to clean and look after your AeroPress
After brewing, unscrew the filter cap and push the puck of grounds straight into the bin with one move of the plunger. That leaves only a clean chamber in the sink. Rinse the chamber and cap under running water straight after use, before any coffee residue dries on the walls.
Give the rubber seal on the plunger a thorough wash every now and then. Over time it hardens and loses its seal, which makes pressing harder. Apart from the Premium model, the AeroPress can also go in the dishwasher, unless the manufacturer says otherwise for a specific version.
How much coffee should you put in an AeroPress?
Start with 15 g of coffee to 200 ml of water, a ratio of about 1:13. If you like a stronger brew, increase the dose to 17-18 g with the same amount of water.
What water temperature for the AeroPress?
The manufacturer’s basic recipe uses water at 85°C, although recipes with water up to 90°C are also popular. The higher the temperature, the easier it is to get bitter notes with the other parameters unchanged.
What is the difference between the classic and inverted methods?
In the classic method the filter is at the bottom from the start, so the brew begins dripping as soon as you pour. In the inverted method the coffee only meets the filter just before pressing. This lets you extend the brew time, but the manufacturer advises against this set-up because the brewer is less stable.
Paper or metal filter for the AeroPress?
A paper filter gives a cleaner, clearer brew with no sediment. A metal filter lets through more coffee oils and fine particles, so the coffee is fuller with a heavier body, but a little sediment may be left at the bottom of the mug.
How long should coffee steep in an AeroPress before pressing?
In the classic method it is usually about a minute from pouring to starting to press. The inverted method lets you extend this to 2-3 minutes, but the set-up is less stable while brewing.
Can the AeroPress go in the dishwasher?
Yes. On most models the chamber, plunger and filter cap are dishwasher-safe, except for the AeroPress Premium. Wash the plunger seal thoroughly by hand from time to time so it keeps its flexibility.
