

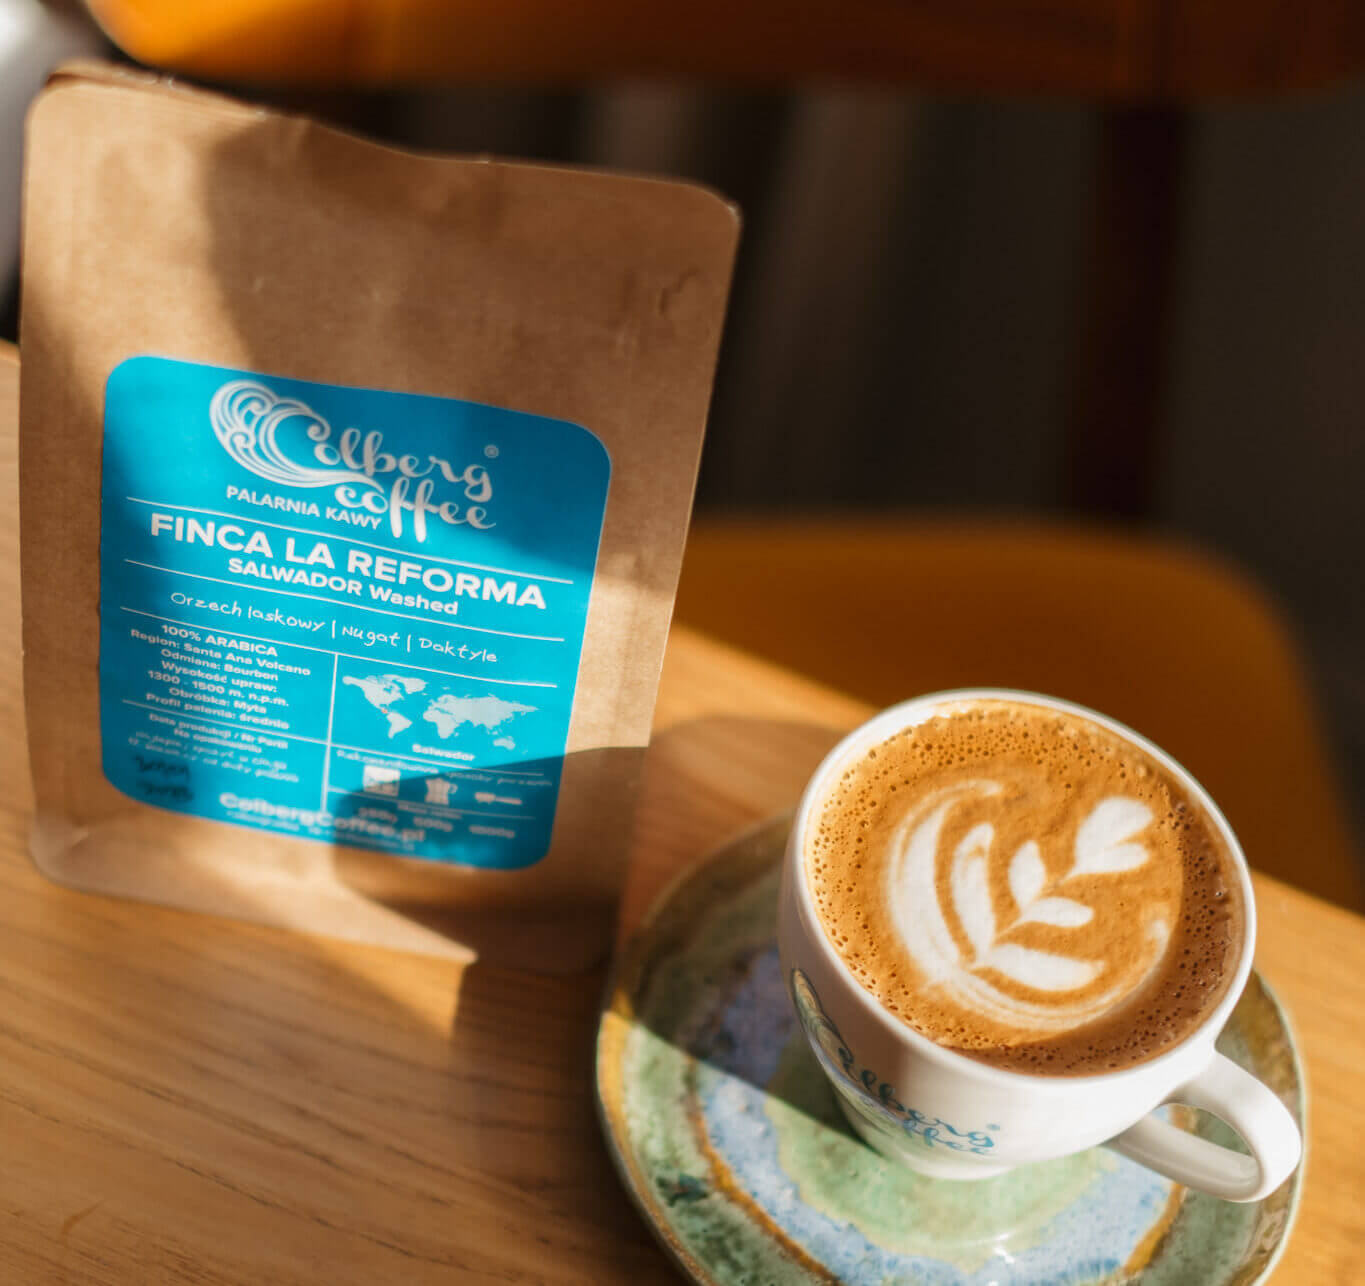
A good cappuccino does not start with a perfect heart poured in milk. It starts much earlier: with the right coffee, a well-extracted espresso and milk that has been aerated, not turned into stiff foam.
That is good news, because most problems with a home cappuccino do not require a new machine. More often it is enough to fix a few things we do on autopilot: milk temperature, steaming technique, proportions or the order of work.
Behind the bar, the difference between an average and a really good cappuccino often comes down to exactly these details.
Cappuccino is more than espresso with milk
A classic cappuccino is espresso plus milk with the right texture. The milk is the key part.
We are not after a thick layer of foam sitting on top of the drink. Well-steamed milk should have the texture of microfoam: smooth, glossy and even. Large bubbles are a sign that too much air got into the milk while steaming, or that it was not rolled properly afterwards.
When you swirl the jug, well-prepared milk looks a bit like wet paint. It is fluid, but it has clearly more volume and a creamy texture.
That texture is what separates a good cappuccino from an espresso covered with a layer of dry foam.
If you want to understand the differences between milk drinks in more detail, see also: Latte vs cappuccino: a practical comparison.
Mistake 1: you start with the wrong coffee
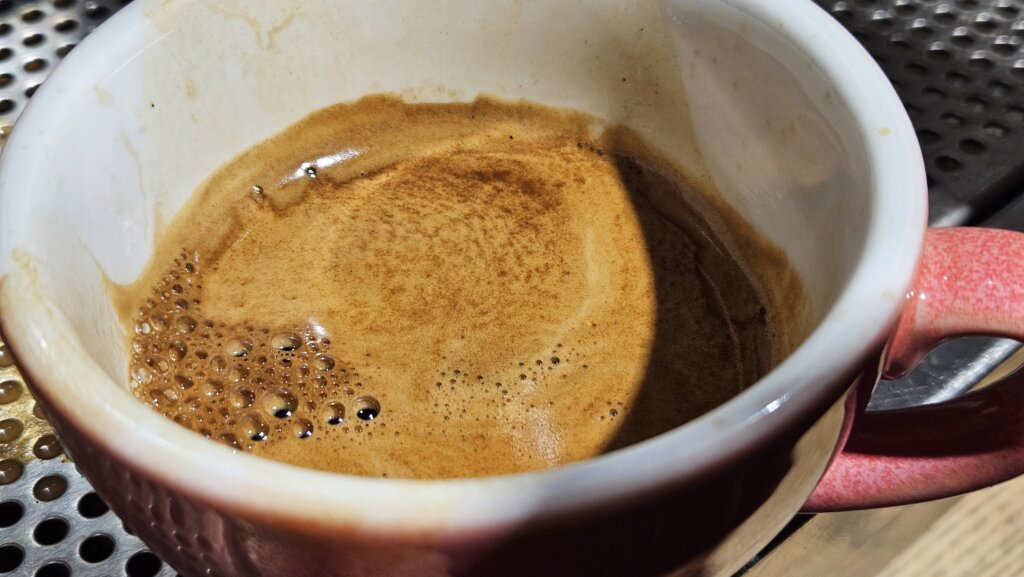
In a cappuccino, milk can cover a large part of the espresso’s aroma. That is why the quality and freshness of the beans matter more here than you might think.
Coffee that has been sitting on a shop shelf for many months may still be fine to brew, but its aroma will be much weaker. Combined with milk, the difference becomes even more obvious.
Instead of chocolate, nuts or caramel, you simply get the taste of warm milk with a faint hint of coffee.
So look at the roast date, not just the best-before date.
After roasting, coffee gradually releases the carbon dioxide stored in the beans, and at the same time the processes that cause aroma loss begin. This does not mean you should drink coffee the day after roasting. The beans need time to degas. Later on, however, time starts working against freshness.
Once the bag is open, store the coffee airtight, away from light, moisture and heat. Do not tip it into a large container that gets opened all the time unless you have to.
If you buy a larger amount of coffee to keep in stock, freezing portions of the beans can also be a good solution.
We have written more about this here:
- How to store and freeze coffee properly
- Freshly roasted coffee: should you drink it straight after roasting?
Mistake 2: you overheat the milk
This is one of the most common problems I see when people make cappuccino at home.
The milk stretches nicely, the vortex looks right, everything goes to plan, until the moment we leave the steam wand in the jug a few seconds too long.
Milk should not be boiling.
A good reference point is 55-65°C, and sweetness peaks at around 60-65°C. Above 70°C the milk scalds, tastes flat and picks up notes typical of boiled milk.
If you use a thermometer, it is simple.
Without a thermometer you can use the jug itself. When its surface gets so hot that you can no longer comfortably keep your hand on it, it is time to finish steaming.
When you are starting out, though, a thermometer is very useful. After a few dozen repetitions your hand starts to recognise the right moment almost automatically.
Mistake 3: you try to aerate the milk the whole time
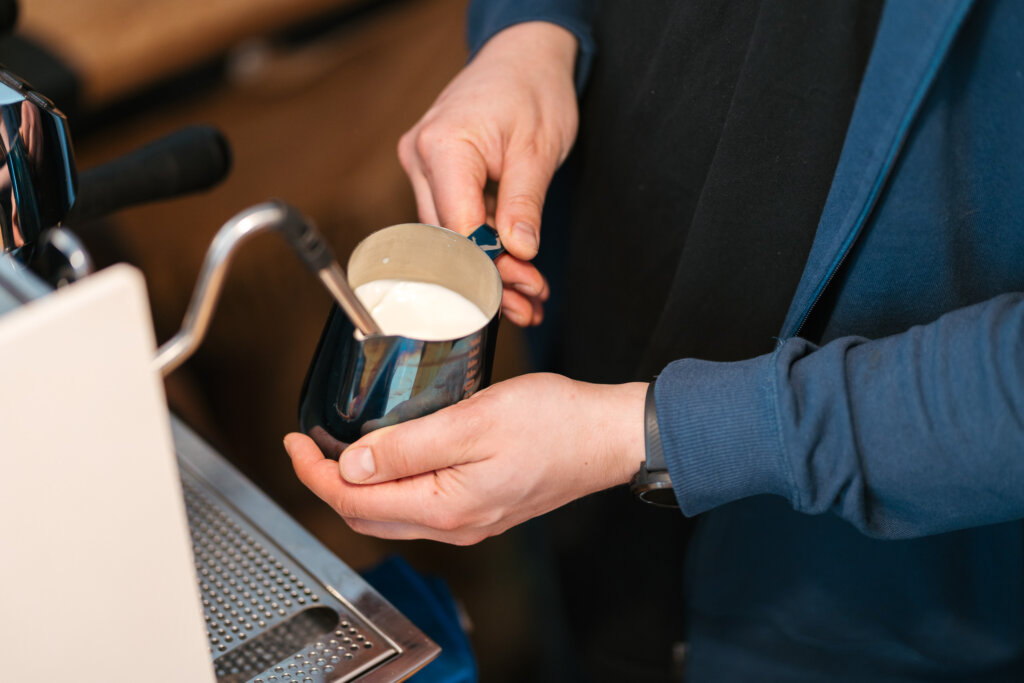
Good milk steaming has two distinct phases.
The first is aeration, often called stretching by baristas.
The tip of the steam wand sits very close to the surface of the milk. You should hear a calm, steady sound of air being drawn in. Not loud gurgling, and not milk spraying all over the counter.
It is in these first seconds that the volume of the milk increases.
It is best to stop aerating before the milk gets noticeably warm, at around 38°C.
Then the second phase begins.
Now you need a vortex
We lower the wand tip slightly deeper and position the jug so that all the milk starts to spin.
We are no longer trying to add more air.
The vortex is there to combine the milk and the microbubbles in it into one even, creamy texture. We keep it going until we reach the final temperature.
This is the stage where milk full of visible bubbles can turn into smooth microfoam.
The choice of jug matters too. There is no point steaming 120 ml of milk in a one-litre jug. It is much harder to get a proper vortex and control the position of the wand.
And one more barista habit worth taking home: purge the steam wand before steaming, and straight after you finish, wipe it and purge it again.
We have described the full technique here: How to steam milk on an espresso machine: a practical guide.
What if the milk is over-foamed?
You do not always have to start again straight away.
First, put the jug on the counter and swirl it with a firm, circular motion. In barista slang this is often called spinning.
The milk should form an even, glossy surface.
If there is still a thick layer of dry foam on top, you can gently scoop off a small amount with a spoon and swirl the jug again. This is sometimes called grooming.
It will not save milk that has been heavily over-foamed, but with a small mistake it can improve the texture.
If, on the other hand, the milk has hardly been aerated at all, it is difficult to make up for that once steaming is over. In that case it is better to prepare a fresh portion.
Mistake 4: you do not control the proportions
A big mug very easily turns a cappuccino into milk with a bit of espresso.
This is especially common at home, where a single espresso goes into a 300-400 ml mug and the rest of the space is filled with milk.
The result is predictable: the coffee disappears.
A good starting point is a cup of around 180-240 ml and a pronounced espresso.
| Element | Good starting point | Common problem |
|---|---|---|
| Cup | 180-240 ml | 350-400 ml mug |
| Espresso | 30-45 ml | a small, weak shot in a big mug |
| Milk jug | sized to the amount of milk | too big |
| Aeration | finished before approx. 38°C | continued throughout steaming |
| Milk temperature | approx. 55-65°C | milk almost boiled |
| Texture | smooth and glossy | dry, stiff foam |
Do not treat these values as a laboratory recipe. They are a good starting point.
In the end, your espresso, your coffee, your machine and the style of cappuccino you like will all call for small adjustments.
Mistake 5: you leave the steamed milk waiting

It is a small thing that can ruin very well-steamed milk.
Once the steam wand stops, the milk does not sit still and wait for the espresso. Over time it starts to separate: the more liquid part sinks and the foam stays on top.
So after steaming, do not put the jug aside for a few minutes.
Swirl it, get the surface of the milk ready and pour it into the espresso as soon as you can.
A good workflow looks like this: espresso and milk are prepared almost at the same time. If your machine allows it, steaming finishes more or less when the espresso extraction ends.
At home you will not always be able to work like on a professional two-group machine. That is fine.
What matters more is that the prepared milk does not sit idle.
How to make cappuccino at home, step by step
If you want to put the whole process in order, start with this sequence:
- Weigh out fresh coffee and grind it just before making the espresso.
- Pour the right amount of cold milk.
- Purge the steam wand.
- Start the espresso extraction.
- In the first phase of steaming, add the right amount of air to the milk.
- Stop aerating before about 38°C.
- Roll the milk in a vortex and heat it to about 60-65°C.
- Turn off the steam, wipe and purge the wand.
- Gently tap the jug on the counter if you see a few larger bubbles.
- Swirl the milk until the surface is smooth and glossy.
- Pour the milk into the espresso straight away.
Latte art is the last piece of this puzzle, not the first.
If the milk has a good texture, the pattern will come with time. If it has the texture of shaving foam, even the best pouring technique will not help much.
Mistake 6: the espresso tastes good on its own but disappears in a cappuccino

This is a more advanced problem.
An espresso that tastes great on its own will not always work equally well with milk.
With espresso we drink a very concentrated beverage, so we can easily pick up its sweetness, acidity, aroma and small nuances.
Add a lot of milk and things change.
Delicate aromas can vanish, and a low-intensity espresso starts to taste simply weak.
That is why for milk drinks it is worth looking for an espresso with more body and a more pronounced concentration.
This does not mean you always have to brew a completely different recipe. But if your cappuccino regularly tastes like warm milk and nothing else, experiment with the ratio of espresso to the finished drink.
Sometimes a smaller cup is enough.
Sometimes you need a slightly stronger espresso.
And sometimes the problem is the beans themselves.
What is the best coffee for cappuccino?
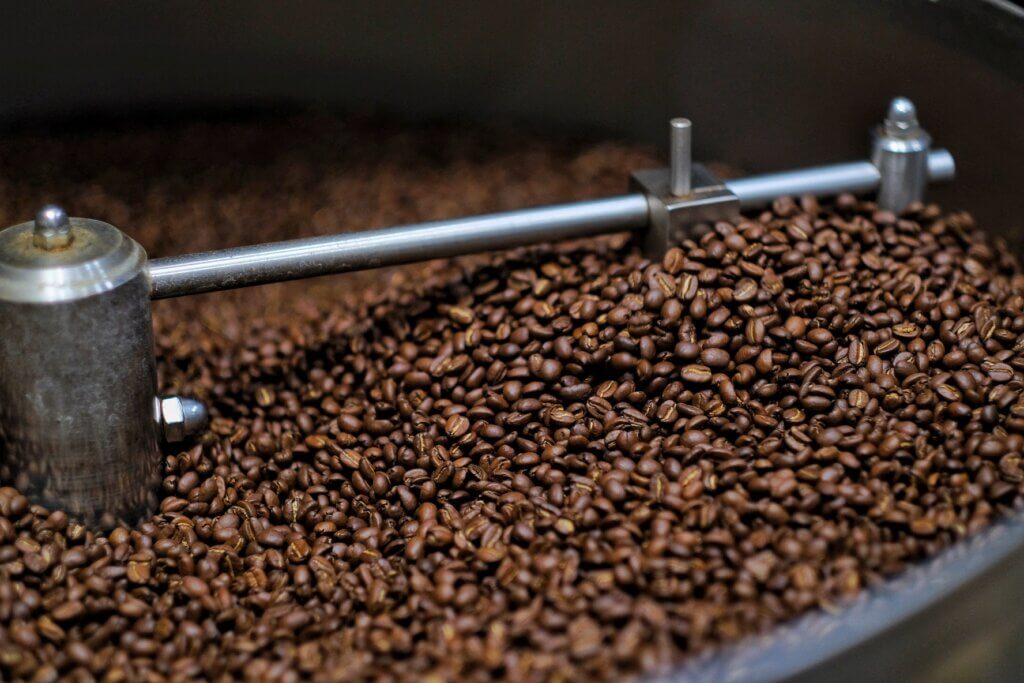
Milk has its own sweetness, fat and distinctive texture. Not every coffee will work with it equally well.
A very delicate, light-roast coffee with a floral or tea-like profile can be stunning as a pour-over and at the same time vanish completely once you add milk.
In a cappuccino it is much easier to work with coffees that are:
- chocolatey,
- nutty,
- caramel-like,
- nougat-like,
- lower in acidity and fuller in body.
A medium roast is a very versatile choice here.
The point is not for the coffee to “fight” the milk. It should simply keep enough of its own character once the milk goes in.
At Colbergcoffee we often recommend the Captain’s Blend for milk drinks. It has very low acidity and a clear chocolate and nut character, so it keeps its intensity well in a cappuccino.
If you want to compare a few different profiles yourself, you can also choose our set of six low-acidity coffees and brew them all to the same recipe.
You will find more options in the low-acidity coffee category.
No espresso machine? You can still make a good milk coffee
A professional steam wand gives you the most control over milk texture, but it is not the only option.
Bean-to-cup machine
If the machine has a classic steam wand, use it just like on an espresso machine: a short aeration first, then the vortex.
Automatic milk systems are more convenient, but they give you less control over the texture of the foam.
Milk frother or French press
You can heat the milk to about 65°C and then froth it mechanically.
With a French press, a dozen or a few dozen controlled strokes of the plunger are enough. But do not try to create as much foam as possible.
The goal is still the finest, most even texture you can get.
Moka pot
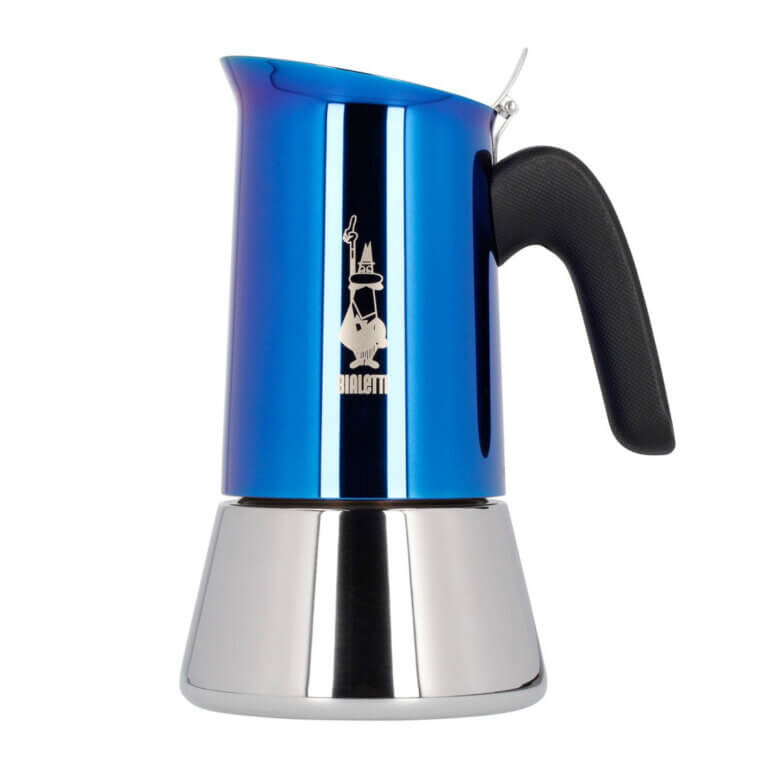
A moka pot does not make espresso in the technical sense of the word, but it does give you a concentrated coffee that can work very well as the base of a milk drink.
In this case the proportions are especially important.
Instead of a huge mug, choose a cup of around 180 ml.
More here: Coffee for the moka pot: which beans to choose?
How to make a better cappuccino? Start with the basics

It is easy to believe that the difference between a cappuccino made at home and one from a good café comes down to a very expensive espresso machine.
Equipment helps, of course.
But behind the bar you quickly learn that even a great machine will not save badly steamed milk, random proportions and stale coffee.
If you want to improve your cappuccino, start with five things:
fresh coffee, the right cup, a short aeration of the milk, a temperature of around 60-65°C and pouring the milk straight after steaming.
Only then work on the perfect heart on top.
Because above all, a good cappuccino should taste good.
Latte art is just the barista’s signature.
FAQ: cappuccino at home
How much milk for a cappuccino?
Enough to fill a 180-240 ml cup together with the espresso. In practice that is about 110-140 ml of milk before steaming. Any more milk and you are closer to a latte.
What temperature should milk for cappuccino be heated to?
Between 55 and 65°C, ideally 60-65°C, where sweetness peaks. Above 70°C milk scalds, loses its sweetness and starts to smell of boiled milk.
Why can’t I get good milk foam?
Most often because aeration goes on for the whole steaming time. You only add air at the start, before the milk passes 38°C. The second common cause is a jug that is too big: it should be filled to 1/3-1/2 of its volume.
Which milk steams best?
Cow’s milk with 3.2% fat gives the most stable microfoam thanks to its protein content. Among plant-based drinks, barista oat versions work best.
Does a cappuccino have more caffeine than a latte?
No. The caffeine comes from the espresso, so with the same number of shots the amount is the same. A cappuccino tastes stronger because it is less diluted.
Can I steam milk in advance?
Better not. Microfoam separates within a few dozen seconds, and overheated or reheated milk is hard to save. Steam only as much as you will drink straight away.
