

Right, let’s not beat about the bush. Below is a simple recipe for getting a nice heart to pop up in your cup. No fuss, but with photos: scroll, have a look and compare with what you are getting.
Kit you need to pour a latte art heart
-
Espresso machine: a Sage at home, an Eagle One in a café, whatever you have, as long as it holds a steady 9 bar.
-
A grinder you can adjust: seriously, pre-ground coffee from the shop kills the crema and the heart turns out murky brown.
- Freshly roasted specialty coffee for espresso: otherwise you will not get crema and the flavour will be weak
-
A milk jug (ideally 350 ml stainless steel) with a spout, because the spout draws the pattern.
-
Thermometer? Eh, you can, but it is better to feel it with your hand: as long as the jug does not burn your fingers, the milk is at about 60-65 °C and you are good.
Yes, I know the list sounds obvious, but without this kit you will just waste your nerves.
Make the espresso first, because without a base the heart has nowhere to float
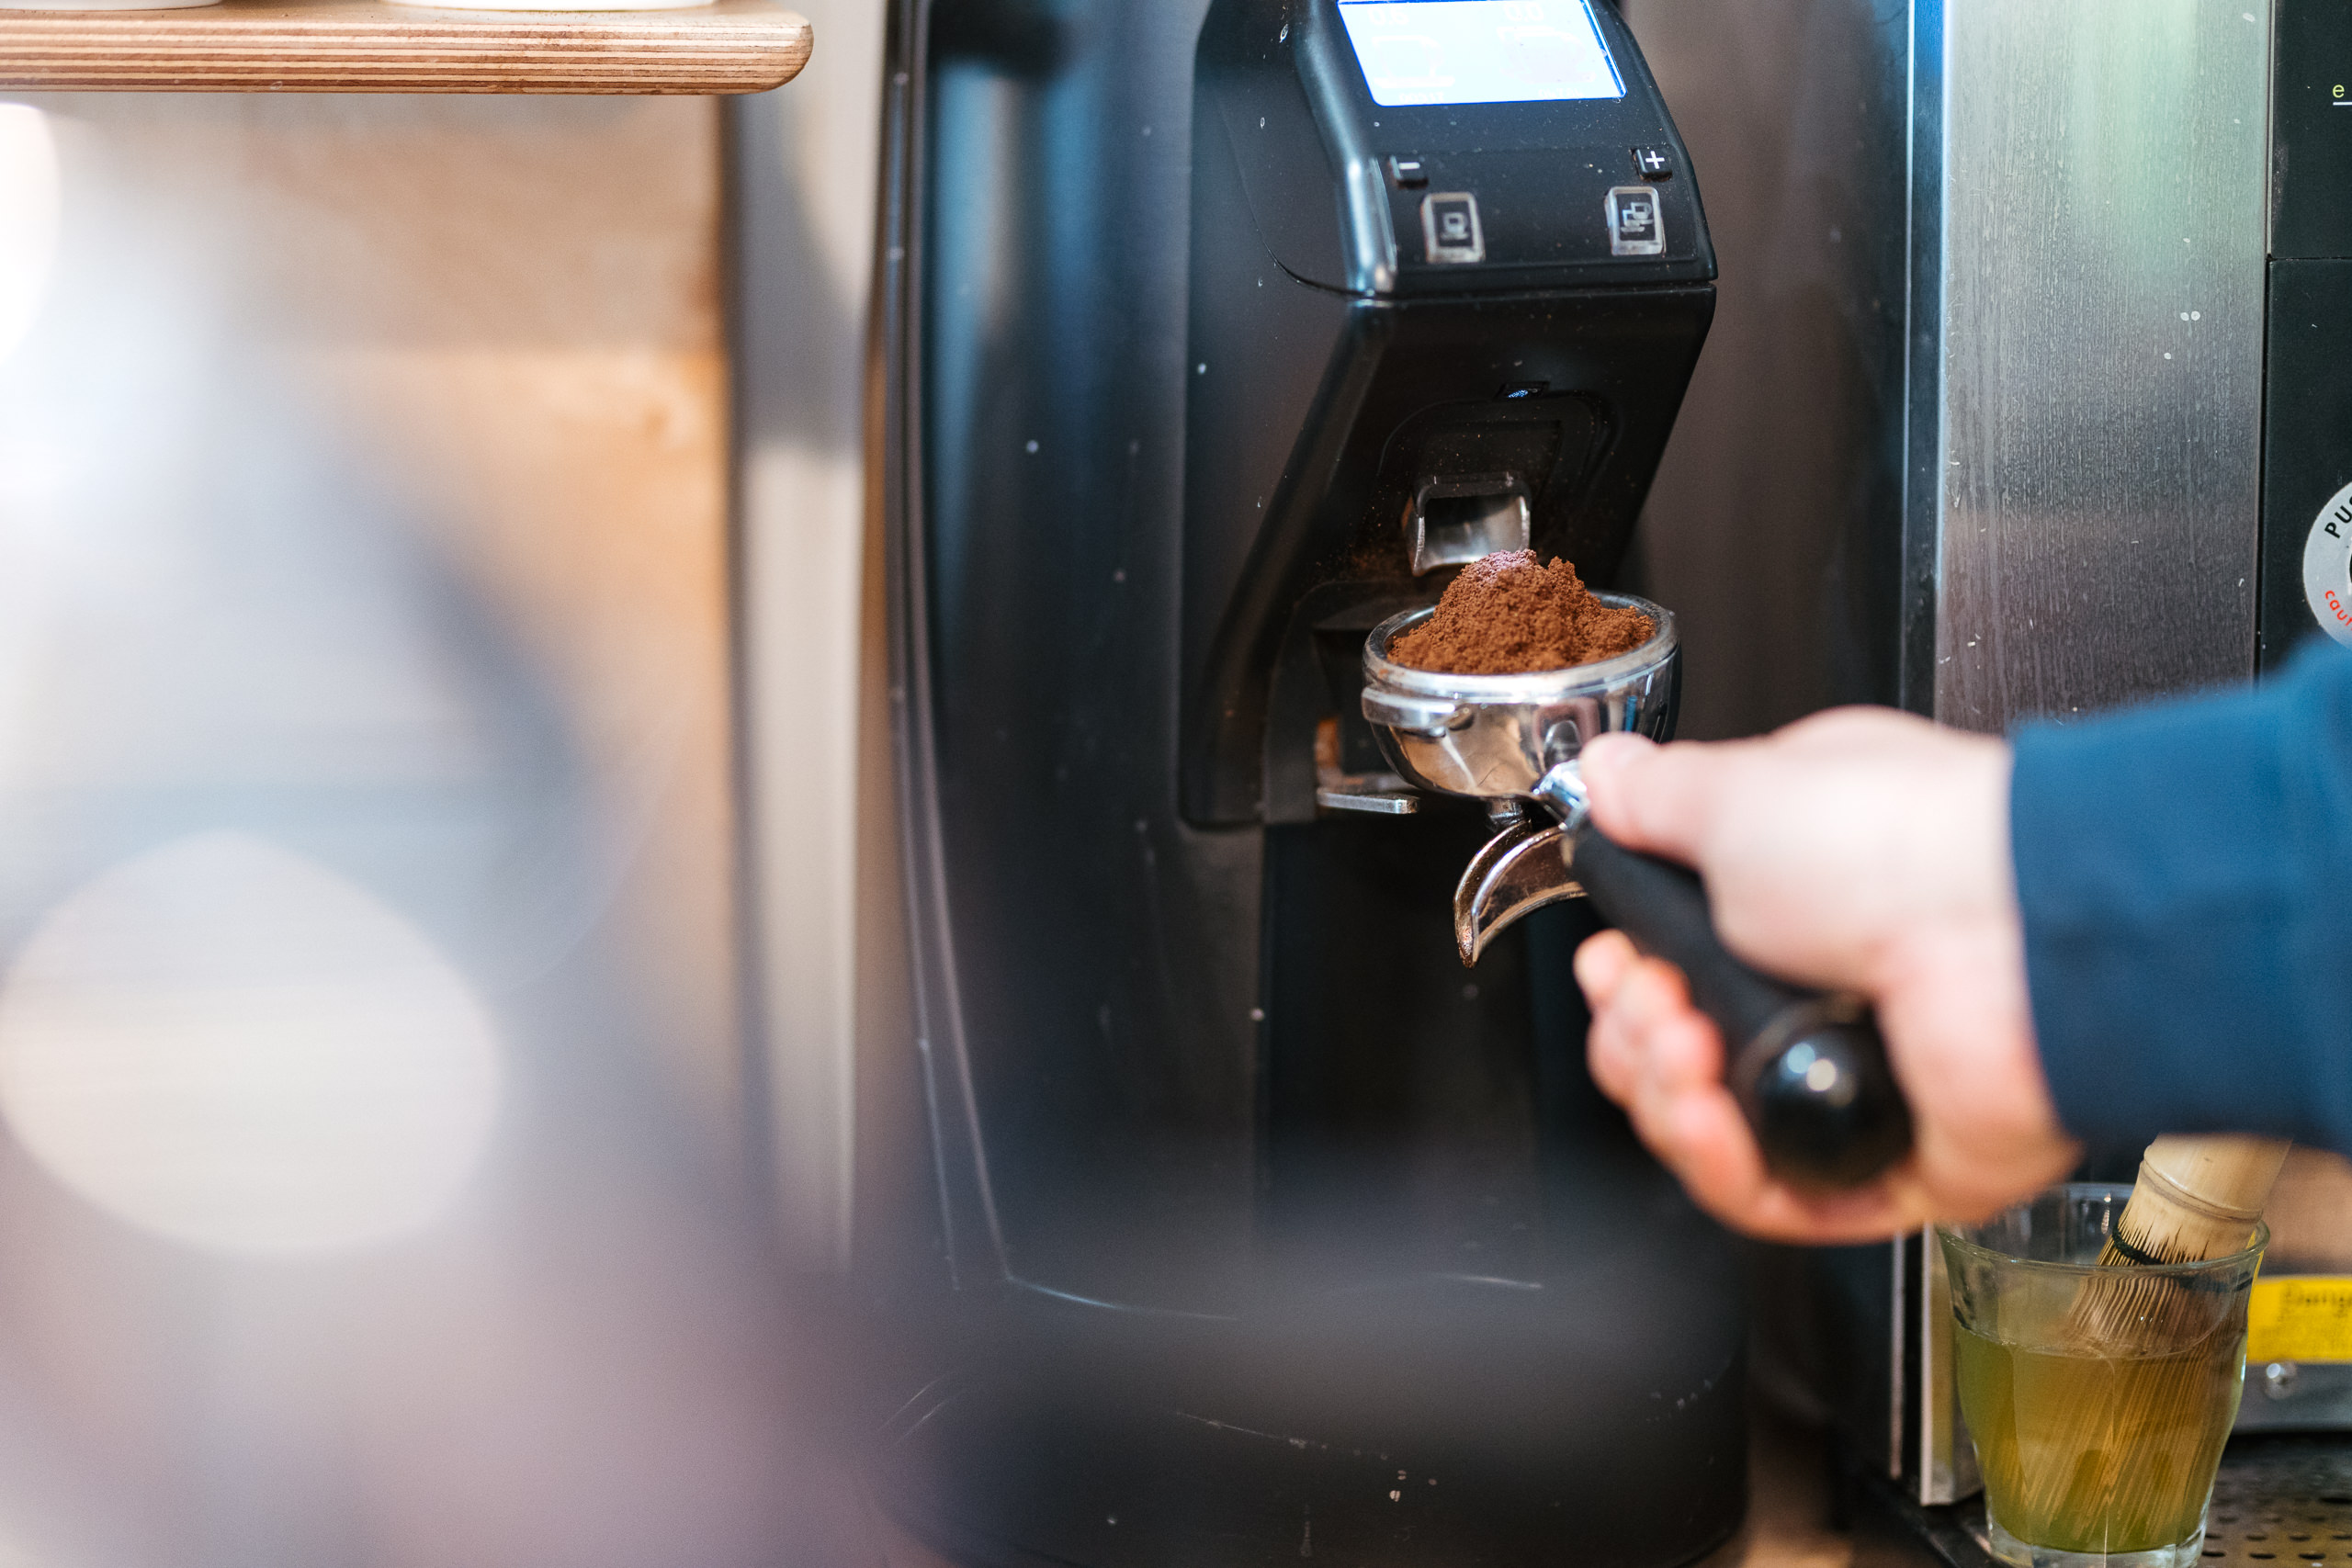
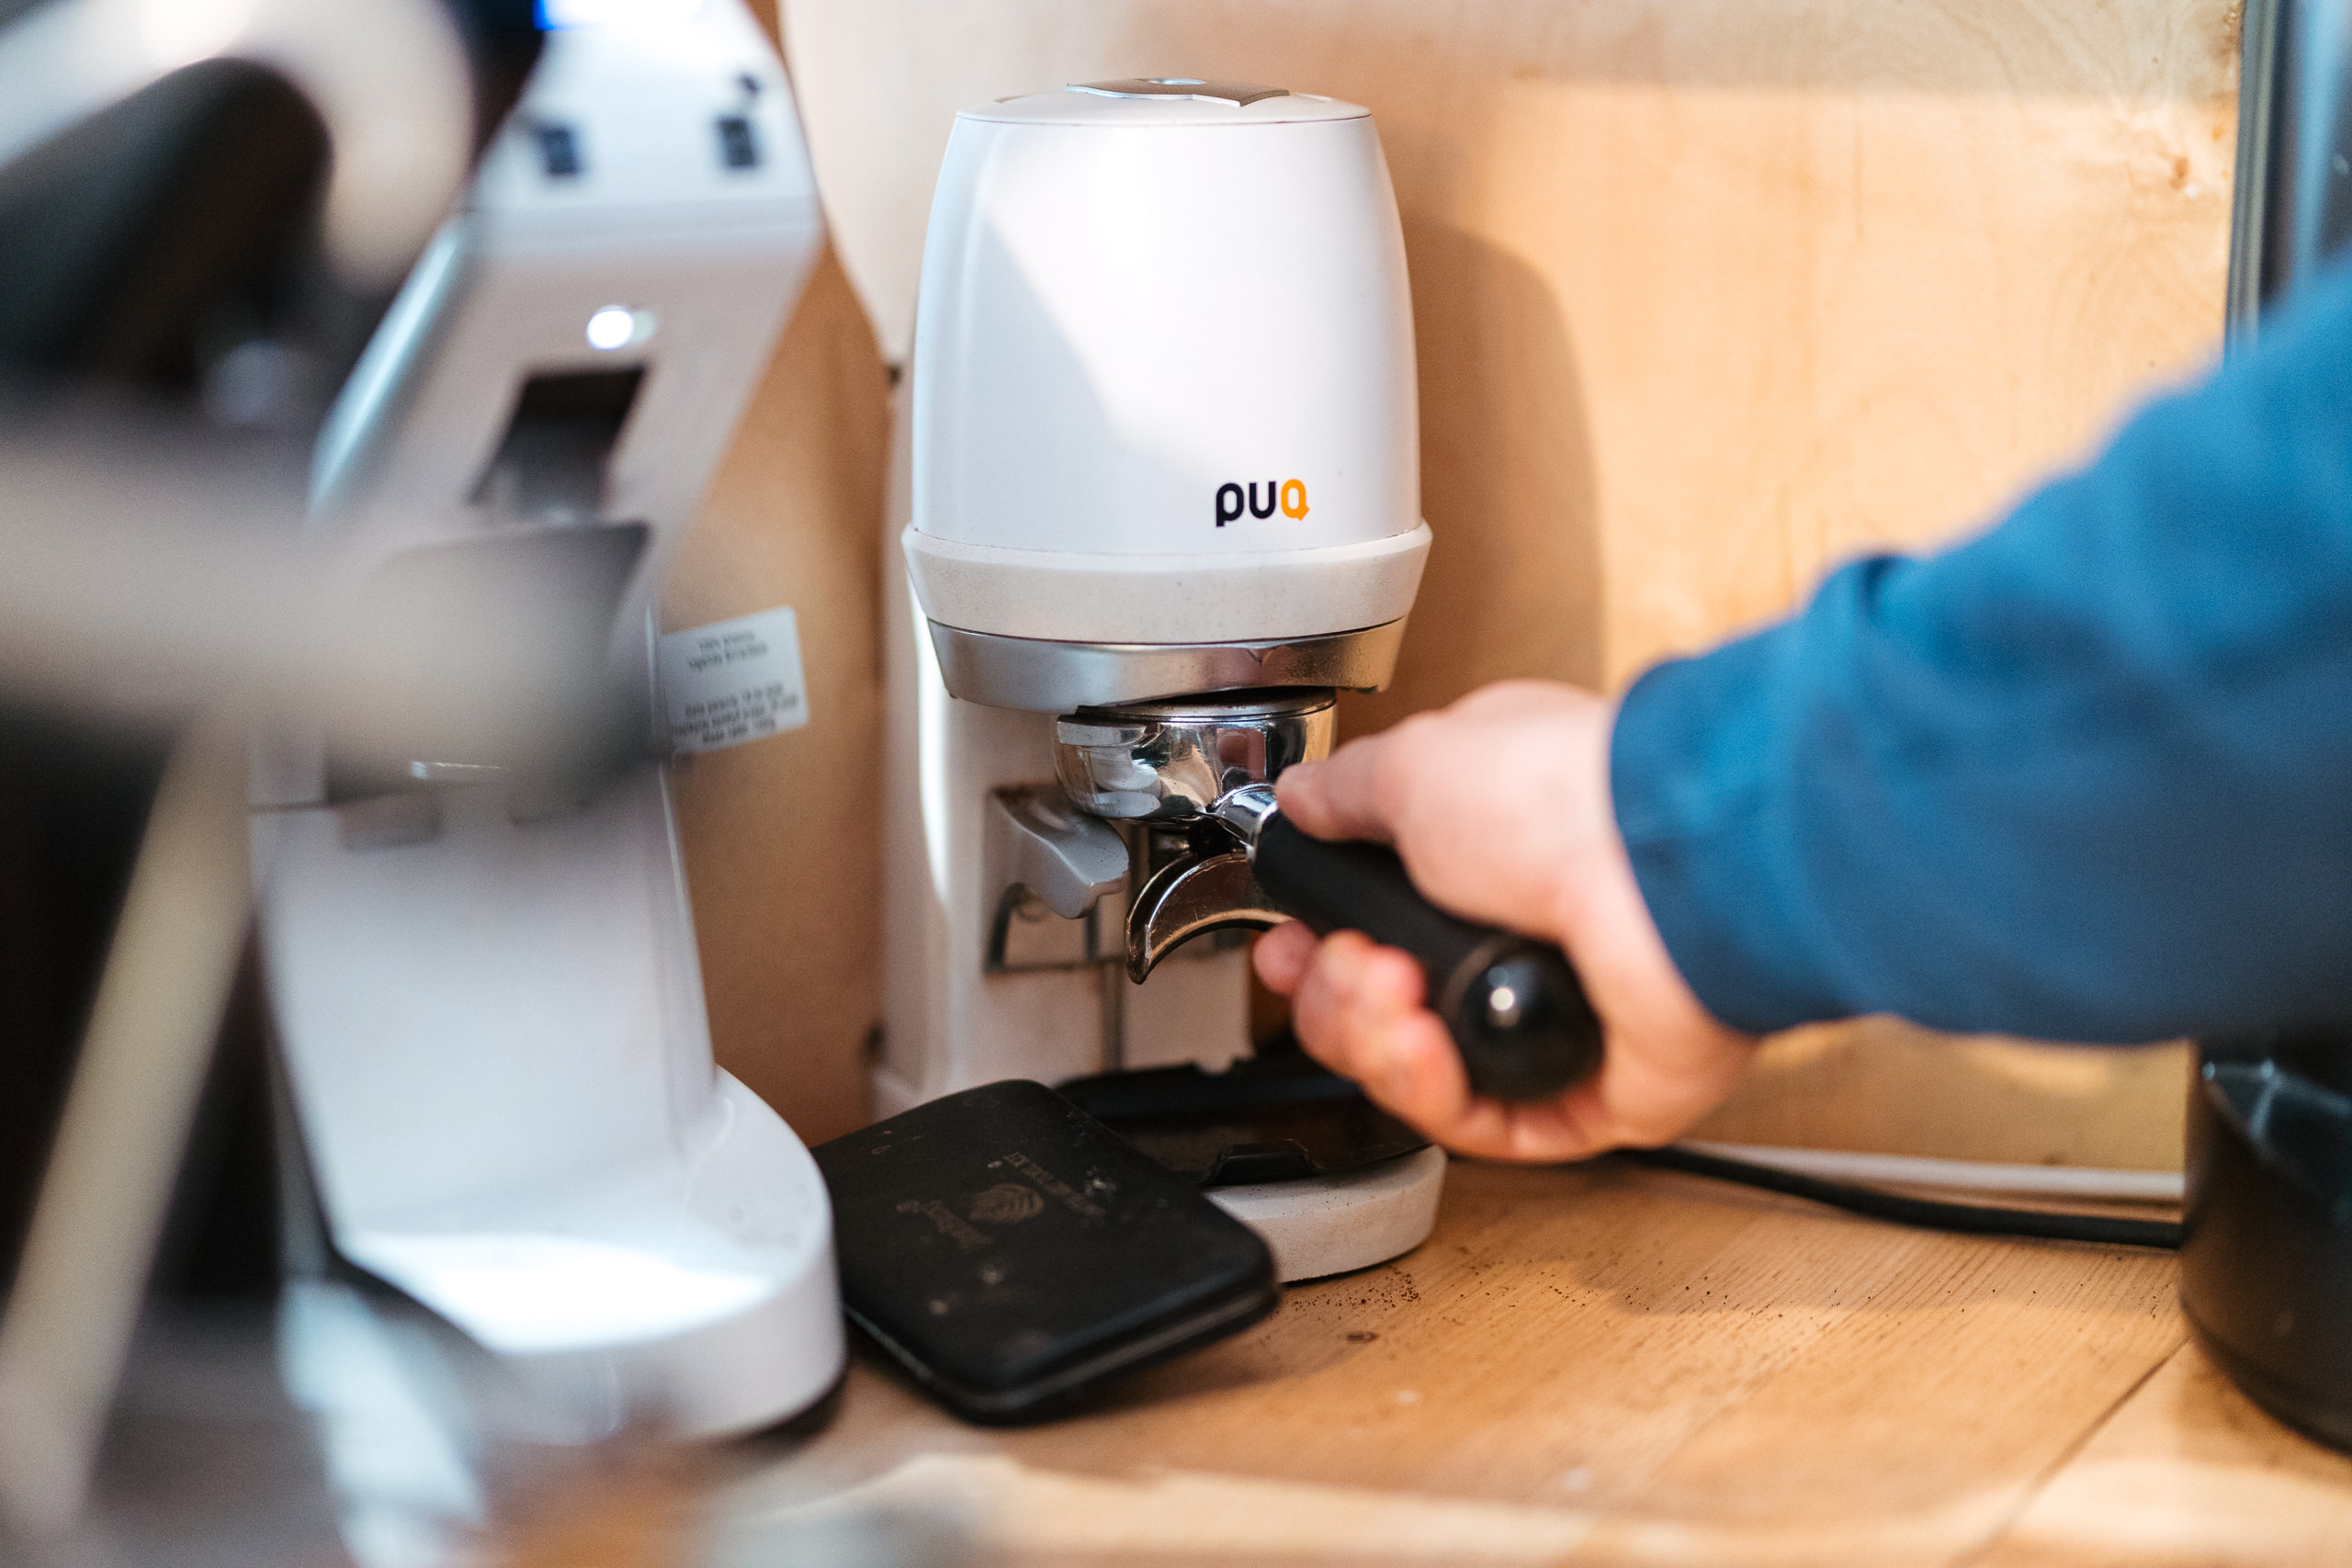
Look at the photos: grind the coffee just before brewing. 18 g goes into the portafilter (16 g at home if you have a smaller basket). Then tamping. The photo with the white “puq” shows an automatic tamper; it makes life easier, but a hand tamper will do the job too.
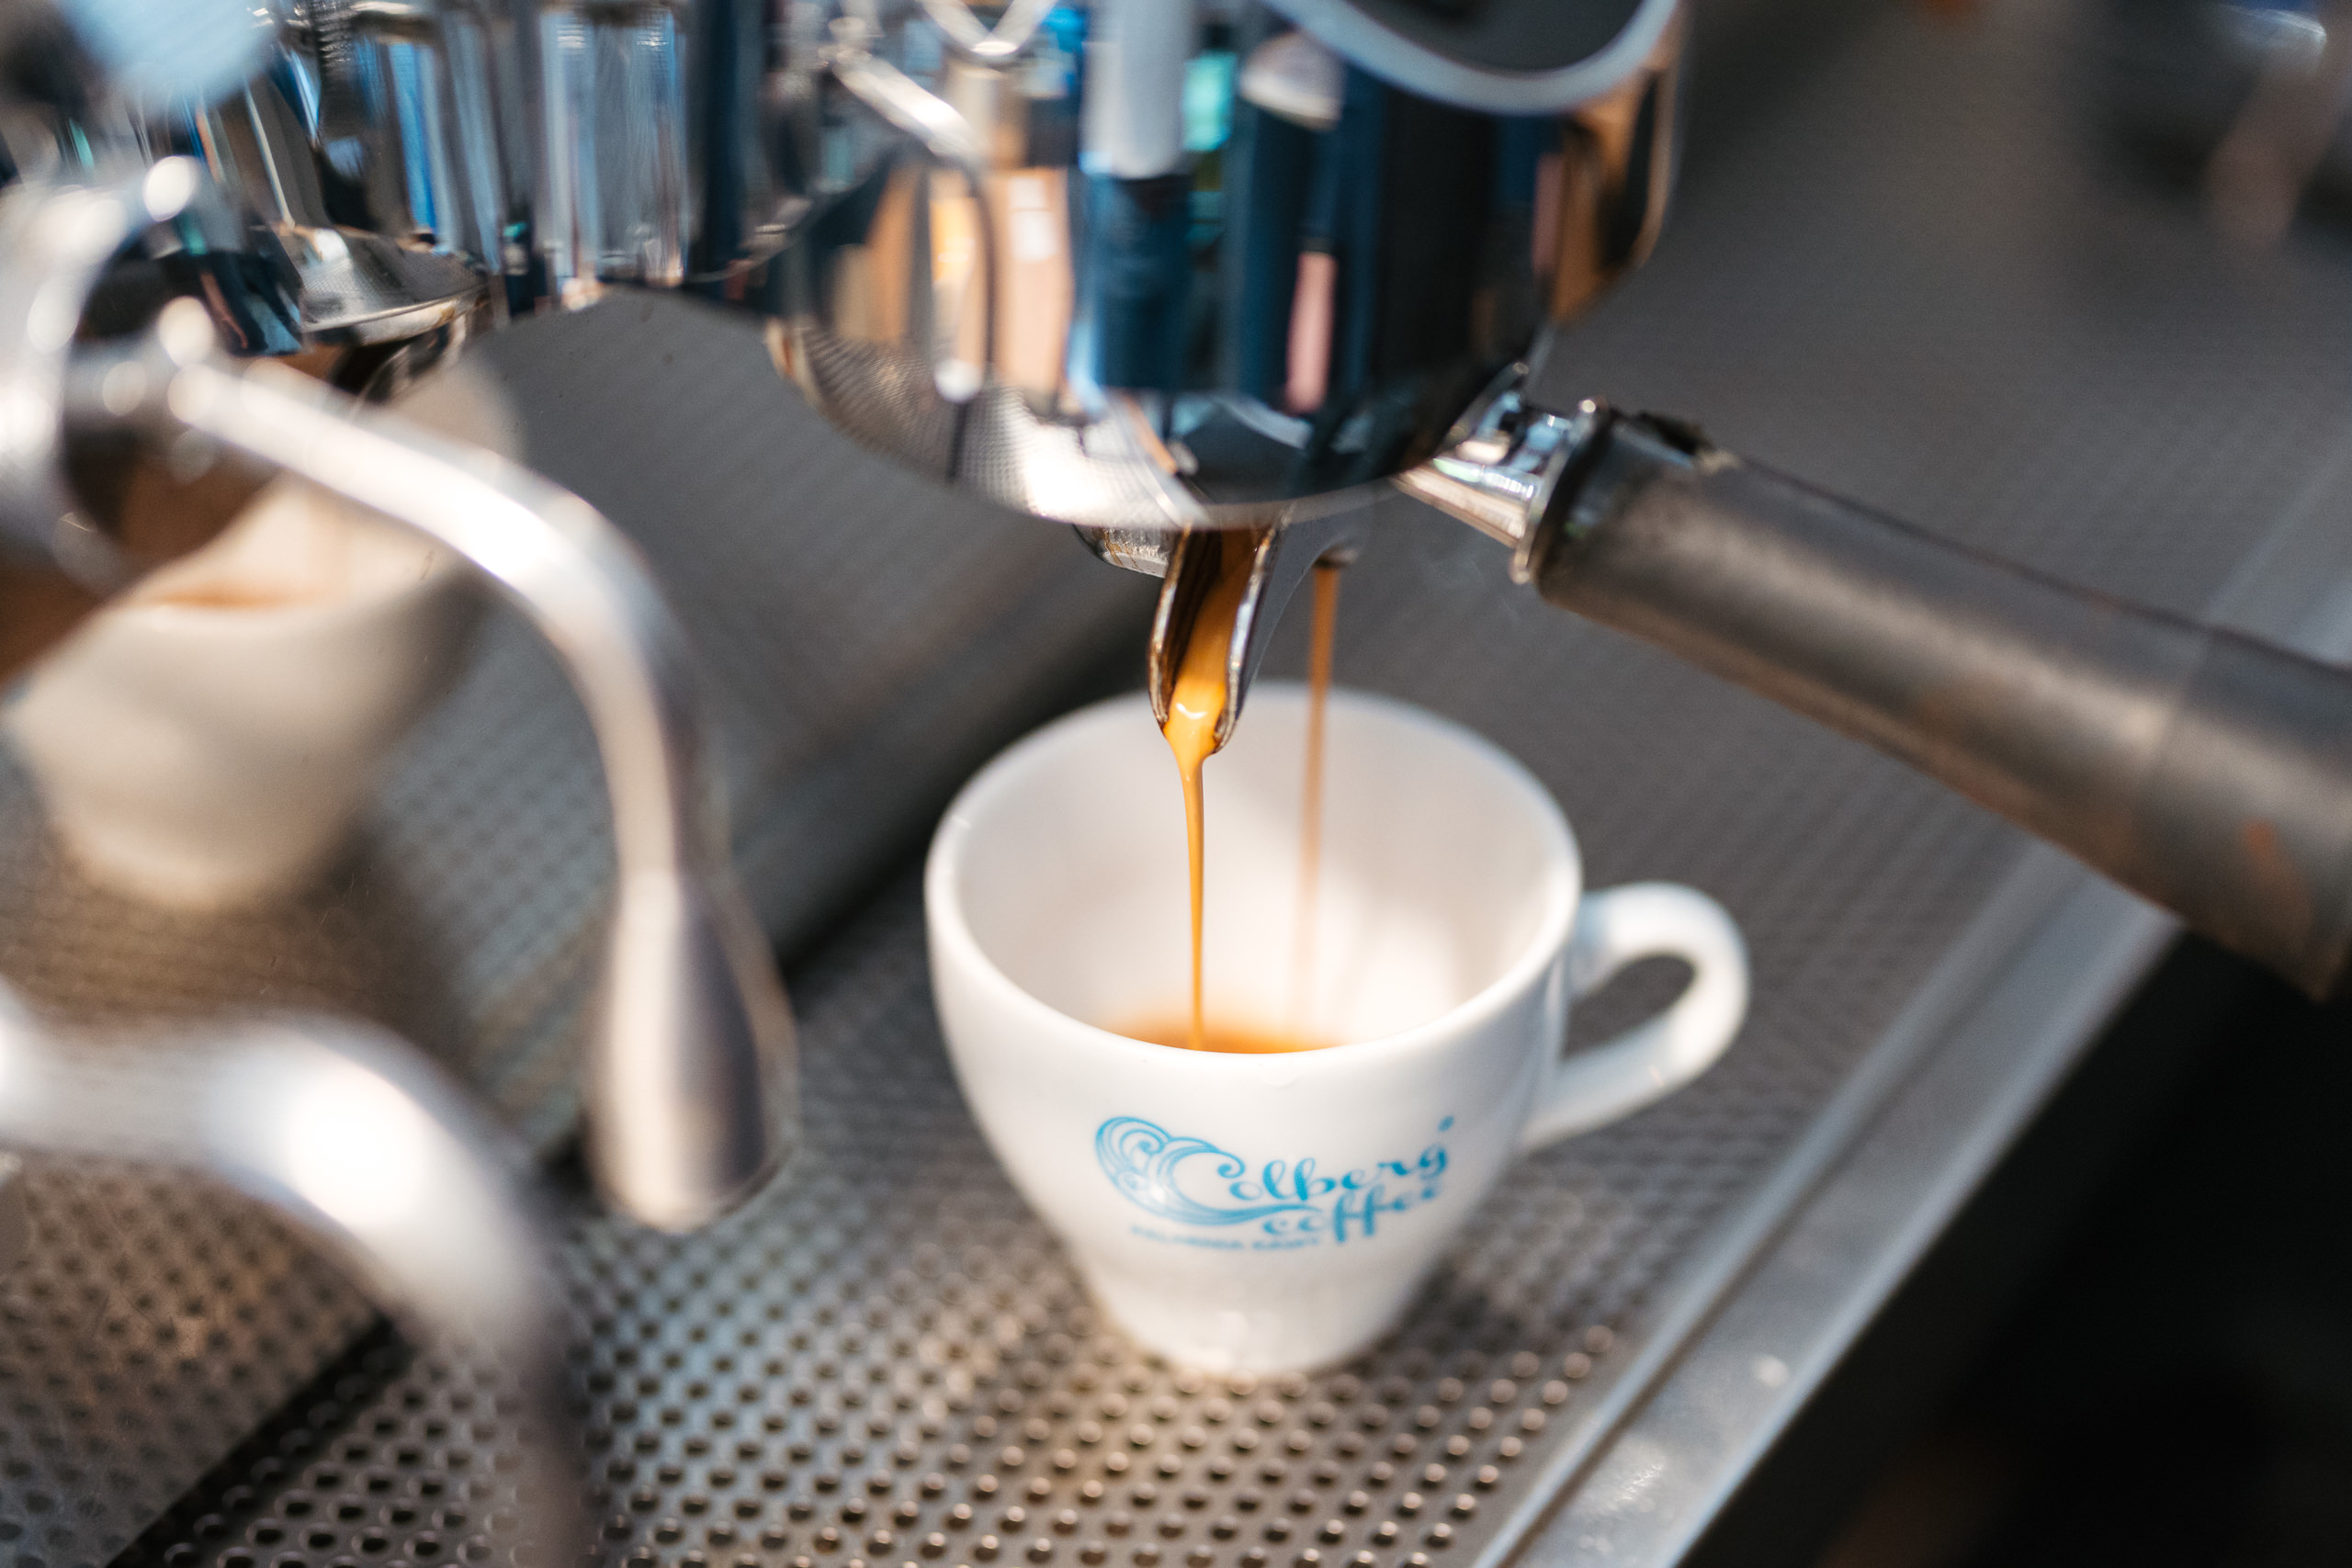
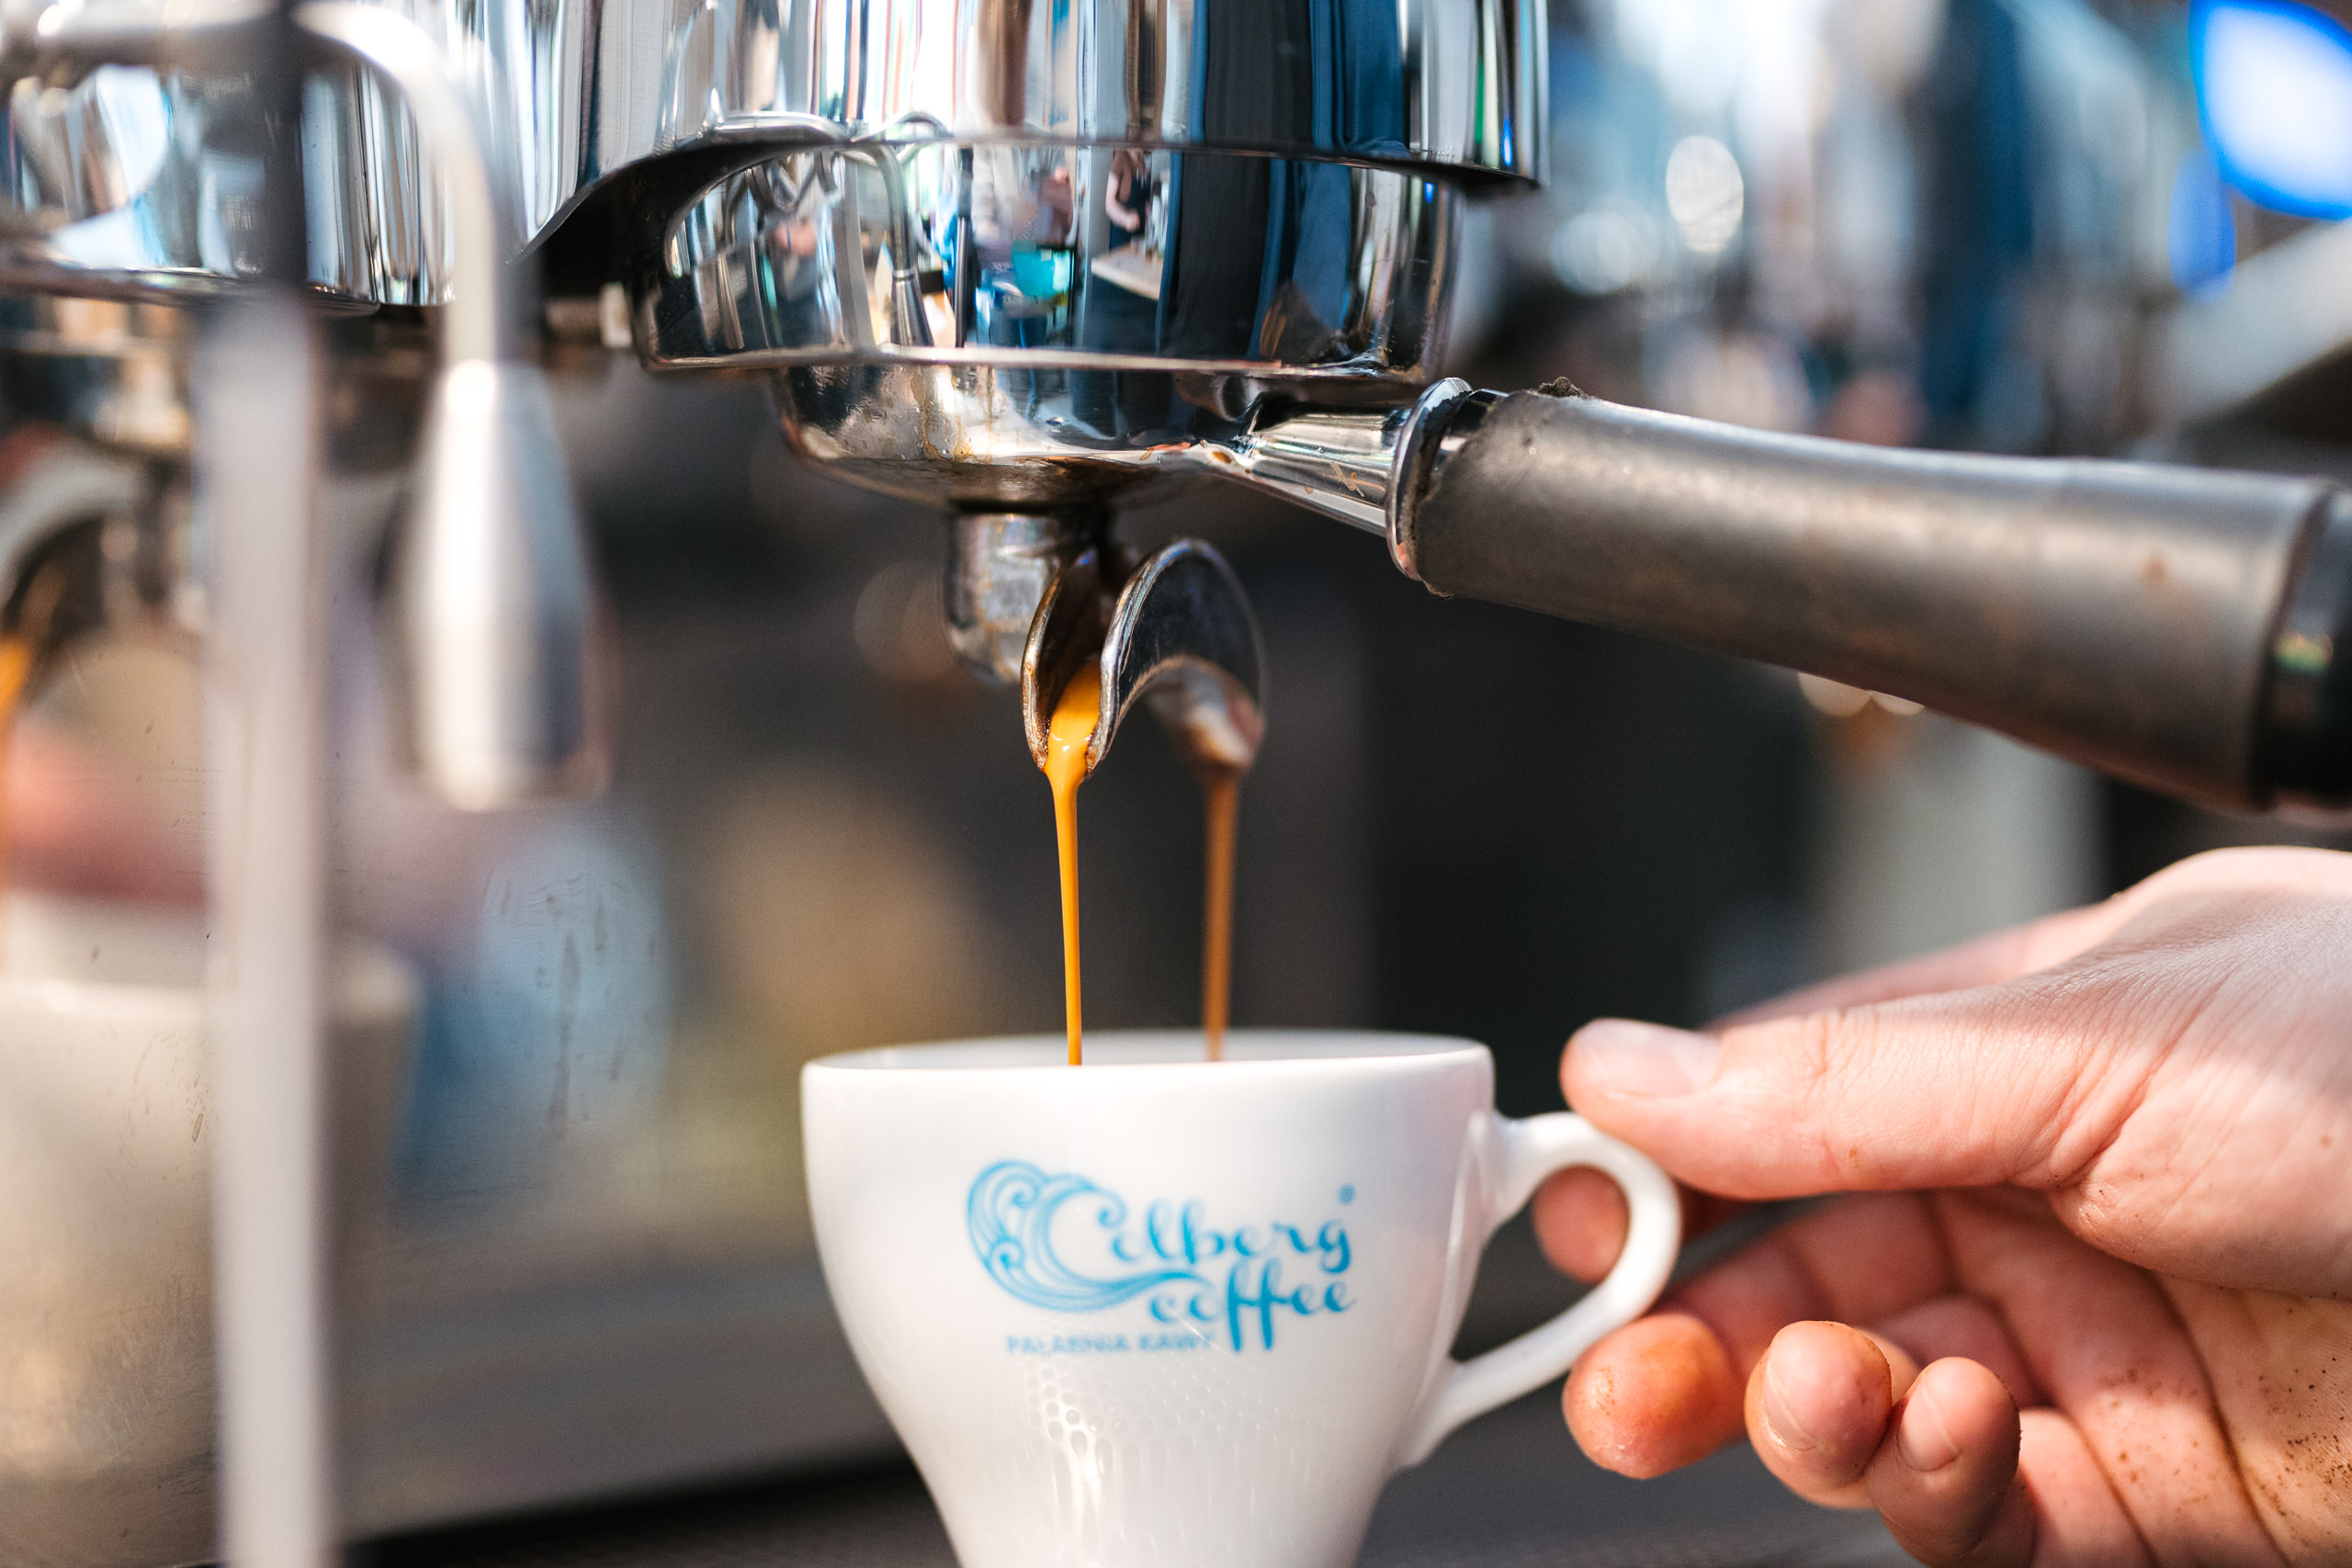
Start the shot and let it run for 25-30 s, depending on the roast level (darker: shorter, lighter: longer). In the cup you want a thick, honey-like stream. No watery streaks, because instead of a heart you will end up with a Pac-Man.
Steaming milk: half the success of a latte art heart
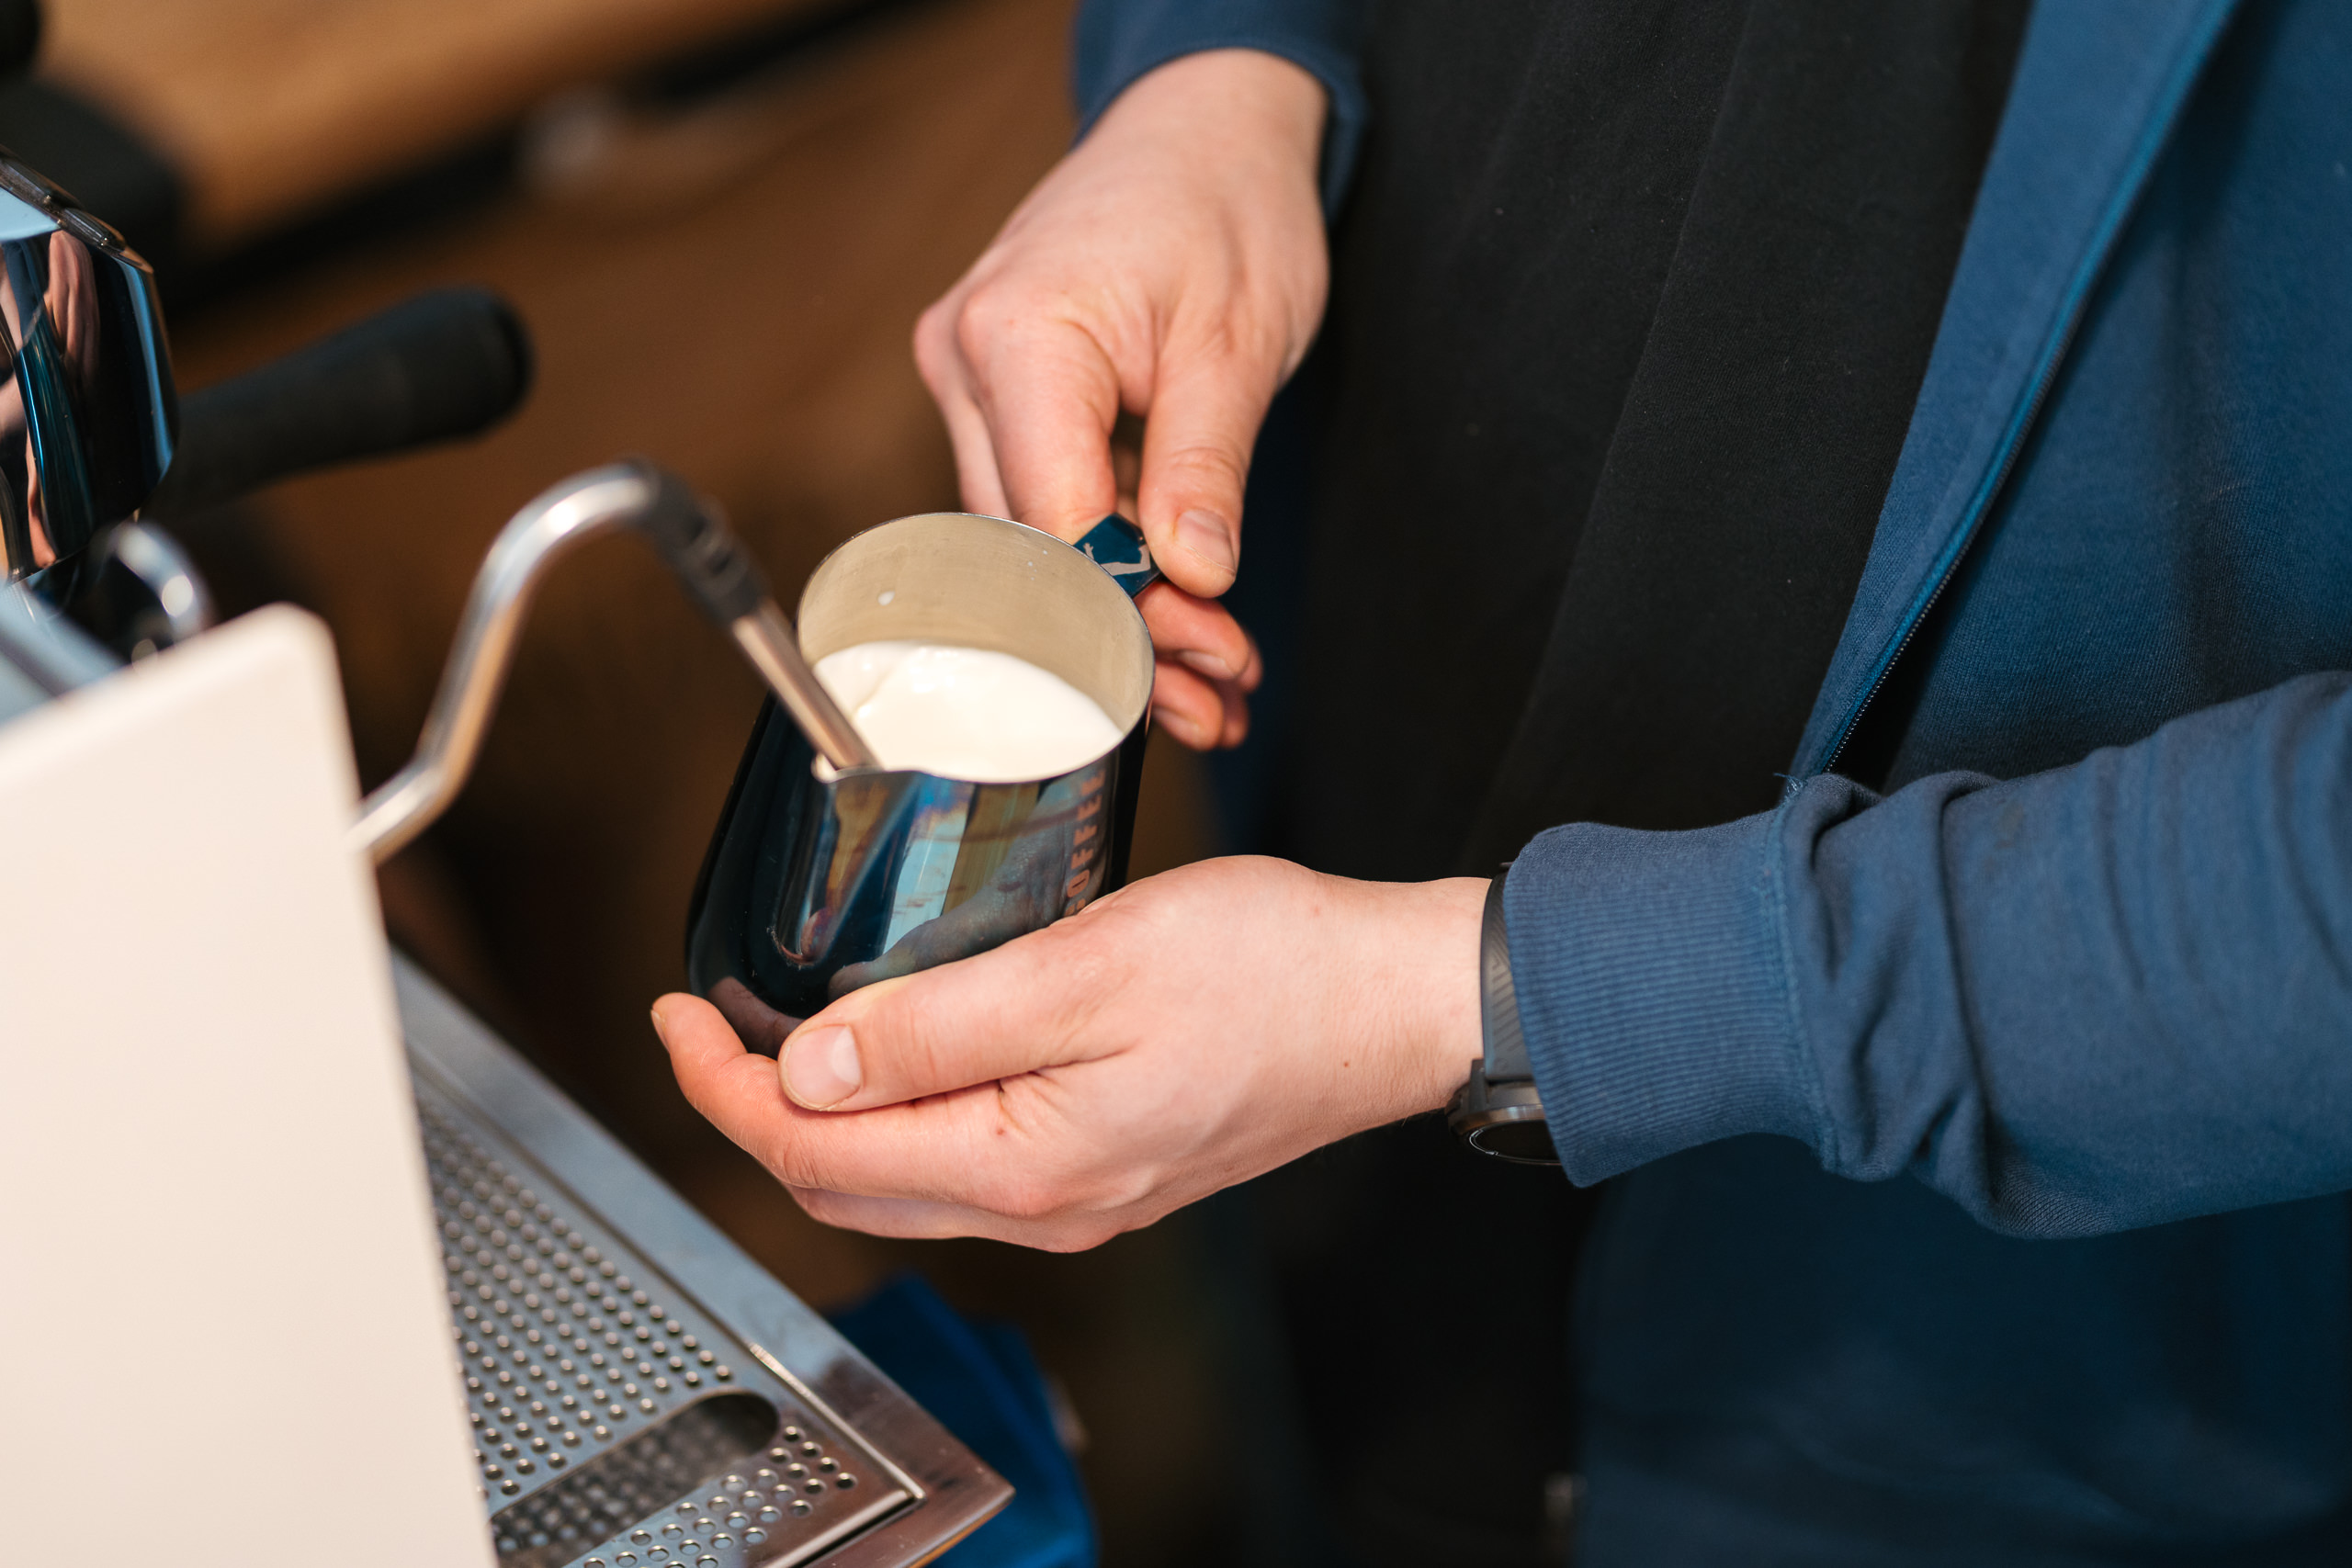
The photo below shows the jug in action. The tip of the steam wand sits just below the surface of the milk, you hear a gentle “sssss”, and the milk has to swirl. Keep going until the foam turns into shiny microfoam. If you end up with foam like whipped cream… no, just no.
Remember: swirl! From here you have less and less time because the milk starts to separate, so swirl the milk in the jug, and if you have a bigger bubble, tap the jug on the counter to get rid of it. When the milk looks like latex paint, it is OK.
Pouring and shaping the heart
-
Start high: jug 6-7 cm above the coffee, pour a thin stream into the centre. Slowly raise the level of coffee in the cup. You are building the background for the pattern, because the milk dives down and comes up from underneath the crema. Pour until the cup is half full.
- Position: the cup handle points towards you, and you pour the heart at a right angle to the handle.
-
Go low: tilt the cup until the coffee almost spills out, lower the jug to 1 cm and start in the middle of the cup. Now pour a wider stream, and do not rush your breathing.
-
Move the jug slightly forward while still pouring: the milk spreads out into a white oval.
-
Pull through: when the cup is almost full, lift the jug and cut through the middle of the oval in one movement. Ta-da, the heart is done.

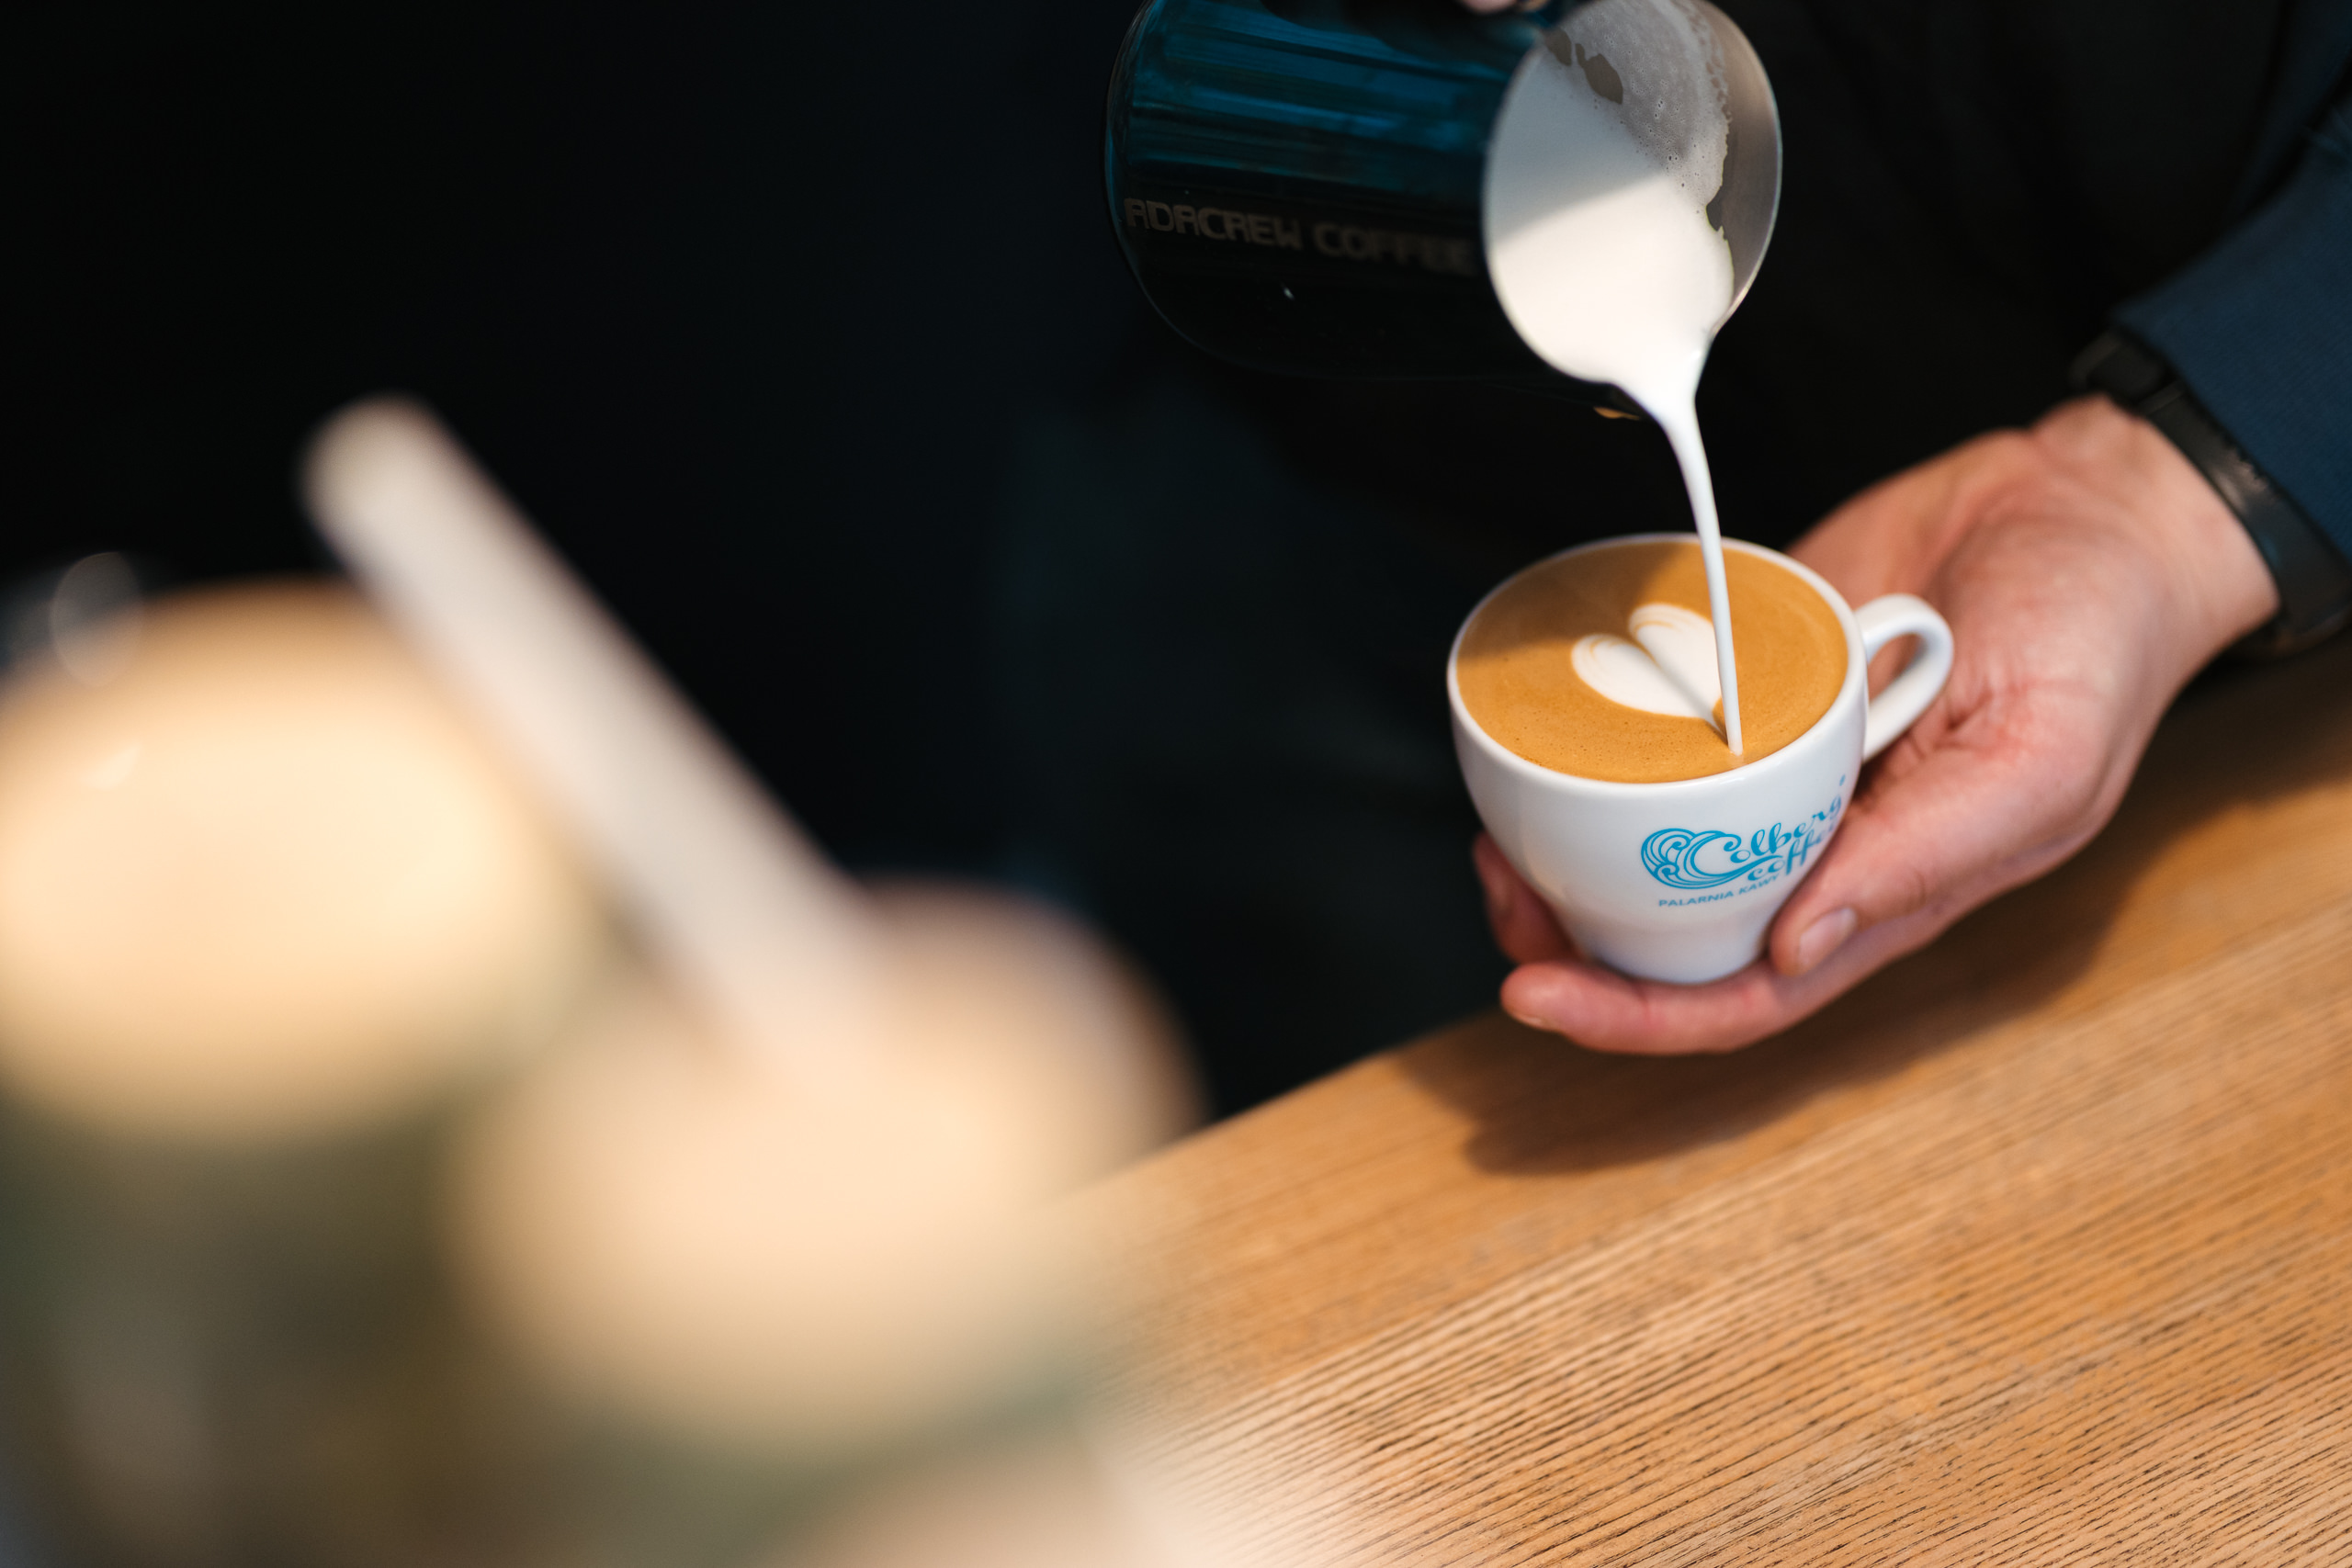
Tip: hand shaking? Rest your fingers on the rim of the cup. It really works.
Mistakes and fails when pouring a latte art heart
-
Milk above 70 °C: it scalds, burns your tongue and tastes flat. Sweetness peaks at around 60-65 °C.
-
Too little milk in the jug: the stream loses continuity and the pattern blurs. Top it up, do not be stingy.
- Milk with too much air: you cannot draw anything with it
-
You pour too hard. You get uneven lines on the crema. Slow down and let gravity do the work.
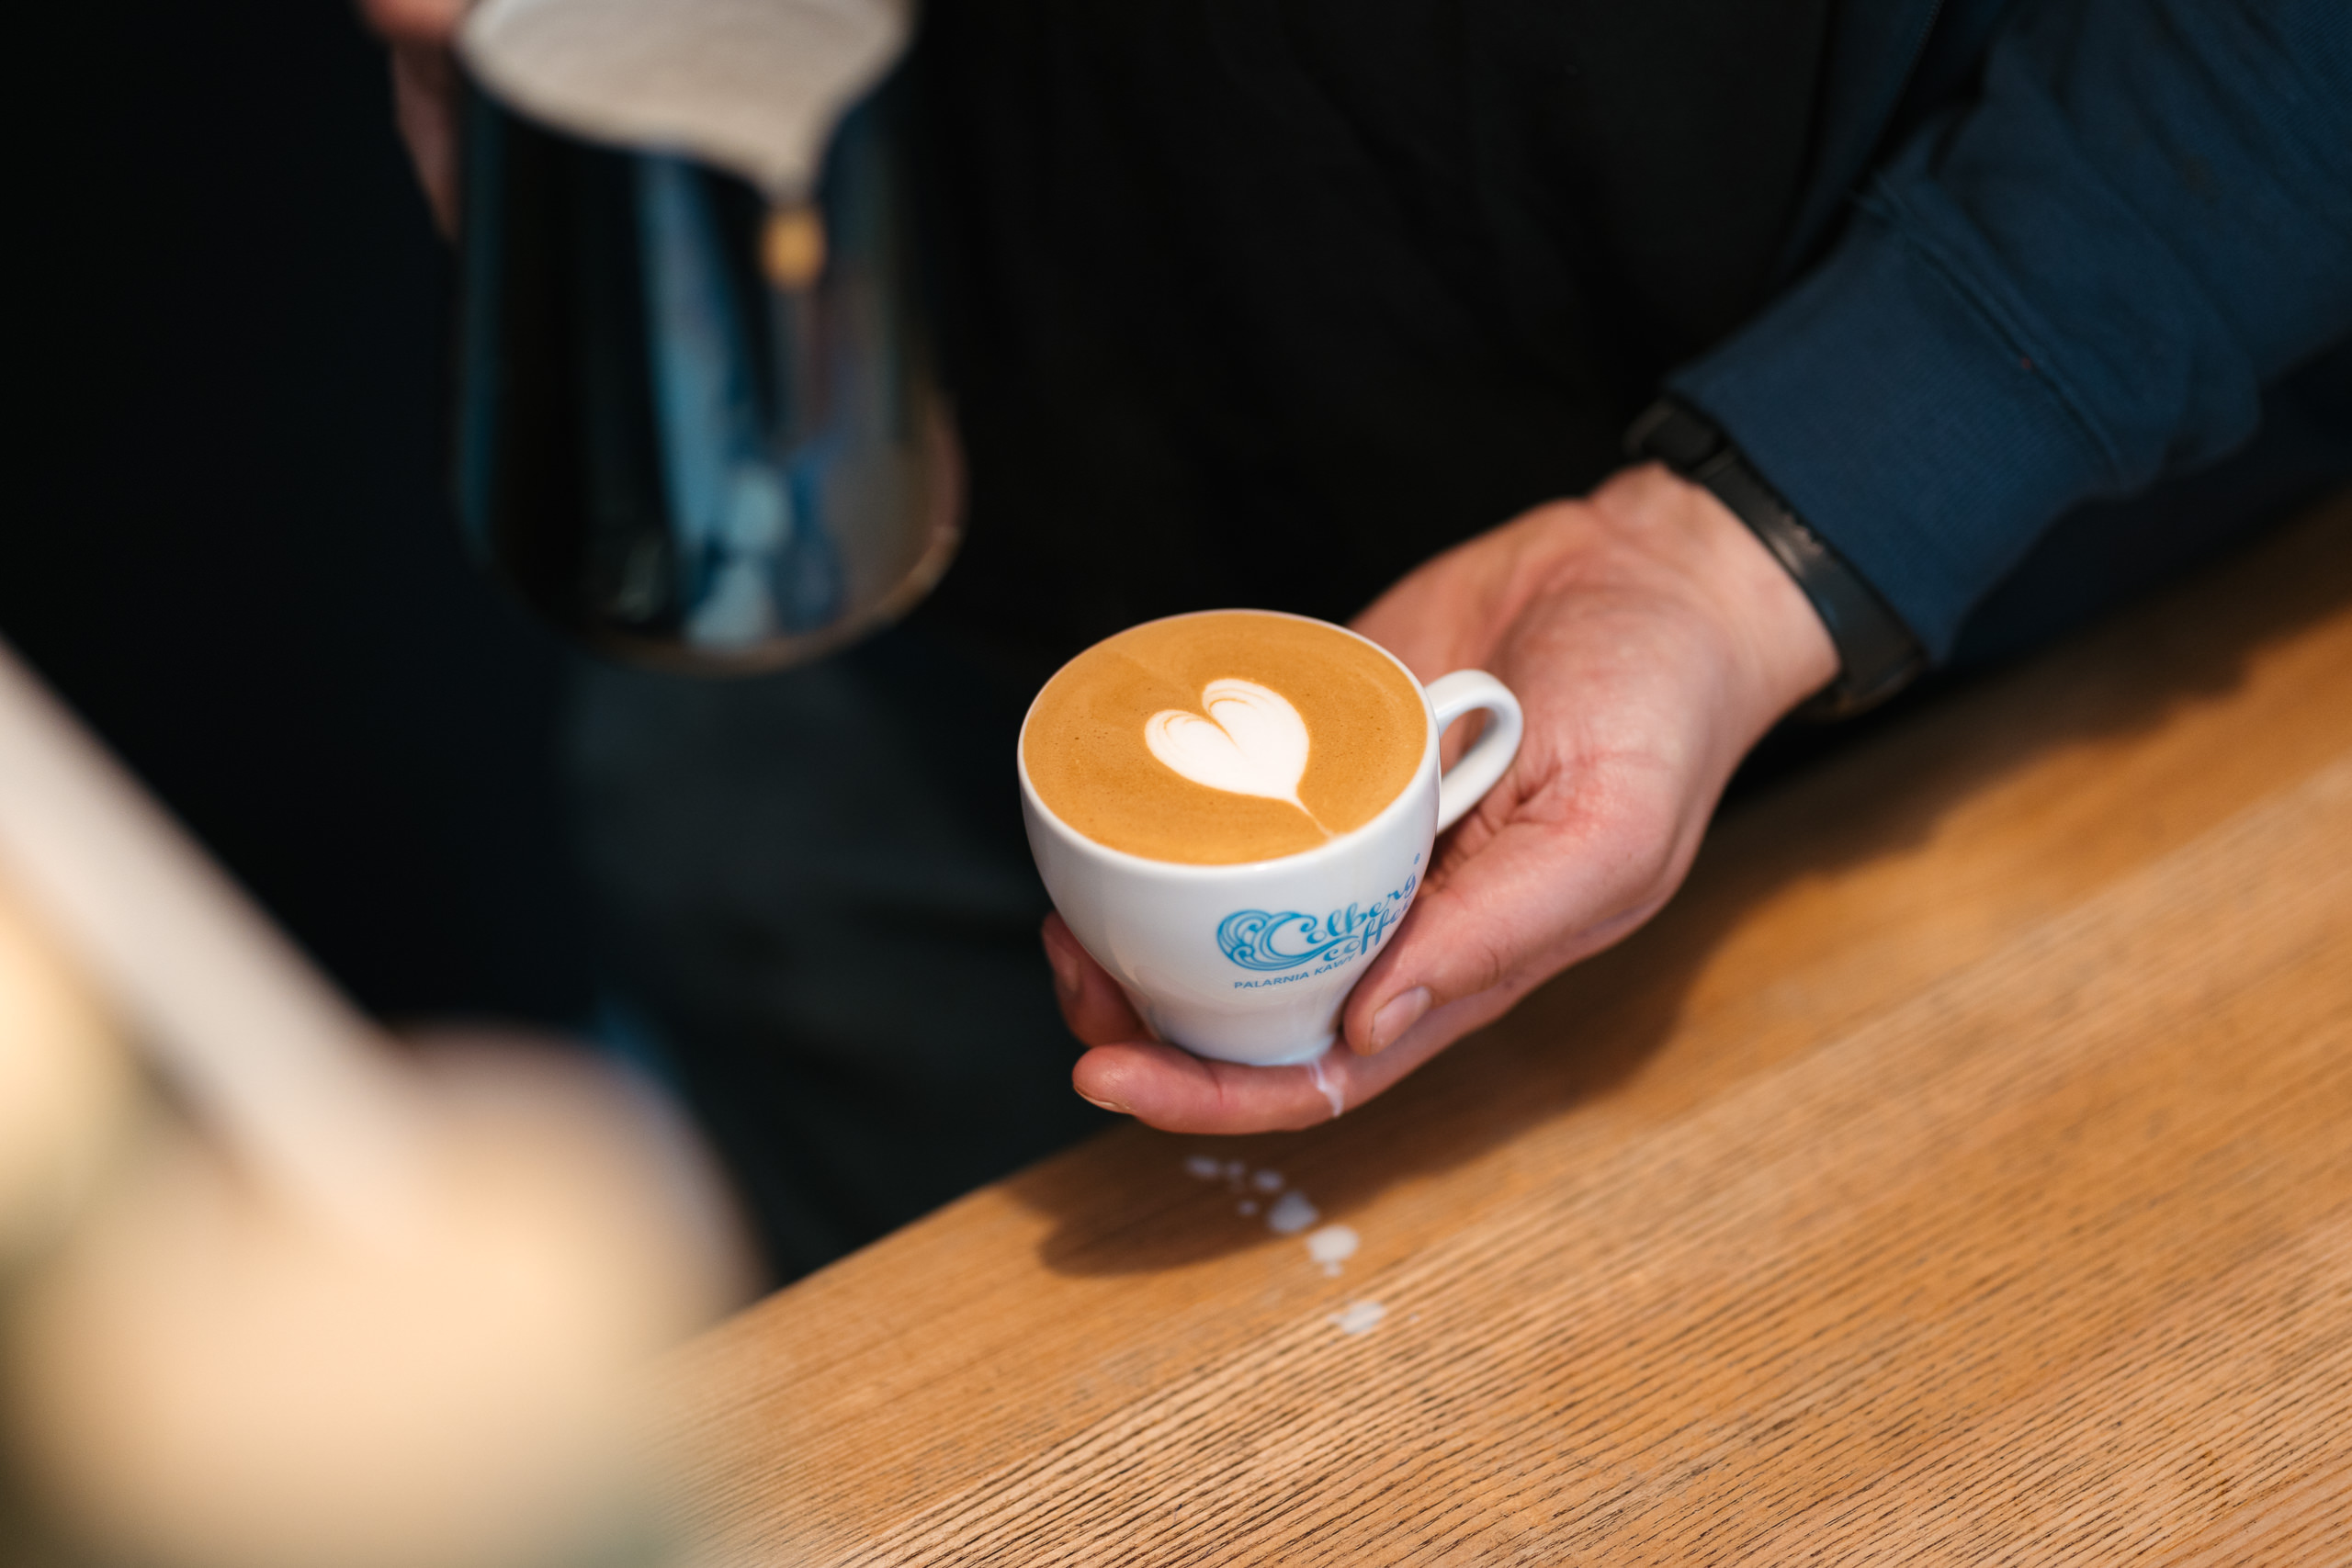
Keep practising: the latte art heart in real life
Practise, make a mess, clean the machine, start again. By the fiftieth cup the heart will come on its own, I promise. And if something is not working, go back to the photos and compare the milk texture and the espresso stream. And remember: the coffee has to taste good, the pattern is the icing on the cake. Good luck!
