

A latte art pattern doesn’t come from a twenty-thousand-złoty espresso machine. It comes from well-steamed milk. Get that right and you can pour a heart from a mug and a French press. Get it wrong, and the priciest machine in town won’t save you.
This guide shows you how to make latte art patterns at home. You get a choice of two kit setups, three ways to build a dark base and three ways to steam milk, then we get to the pour itself. I’ve taught this on barista courses for years, and I know exactly where beginners usually trip up.
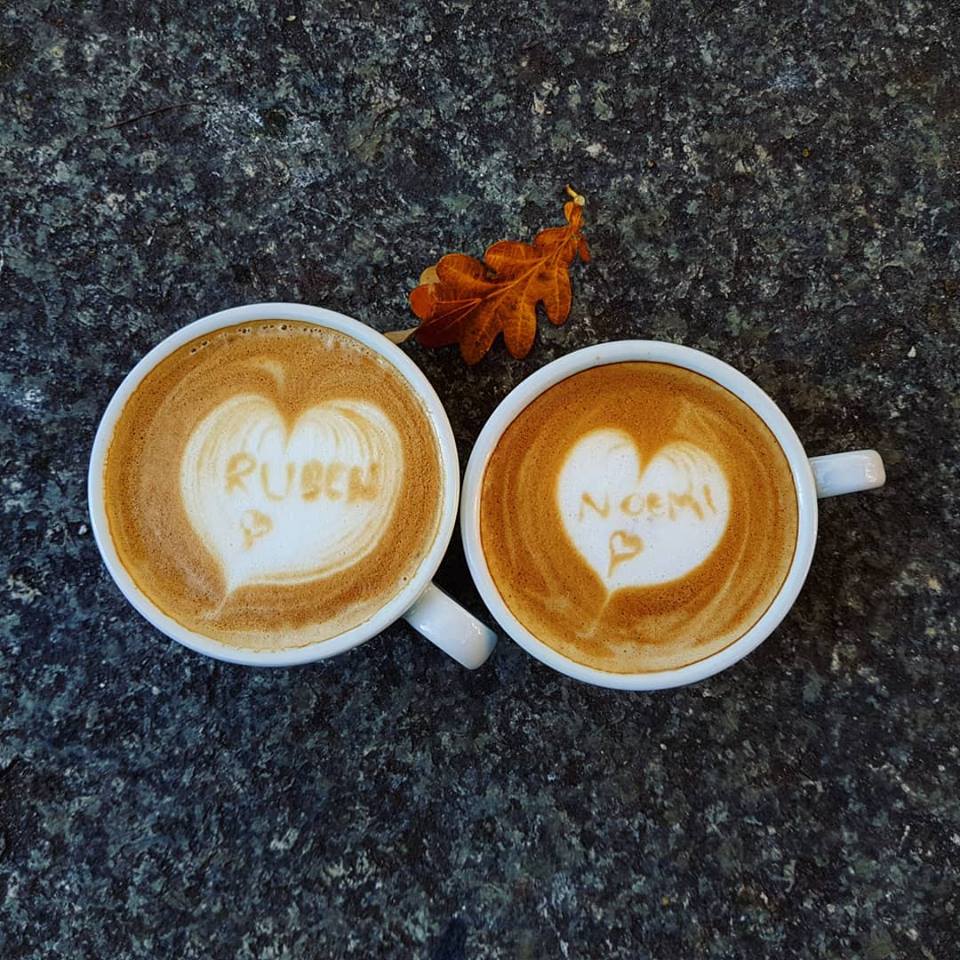
What decides whether the pattern works
Latte art means pouring steamed milk so the white foam settles on a dark background in a specific shape. For that you need contrast and milk with the right texture.
The contrast comes from a dark, thick base. It doesn’t have to be espresso with crema. Any sufficiently dark brew will do, and there are several ways to make one at home.
The second thing is the milk, and in my experience it does most of the work. It should be smooth, glossy and pour like thin yoghurt. If you can see bubbles on the surface, the pattern won’t work: foam like that doesn’t sit under the surface, it just spreads across the top.
The third thing is pouring technique, and no piece of kit replaces it. Even well-steamed milk poured without control won’t settle into a shape.
Do you need an espresso machine for latte art patterns
No. You need something to make a dark base, something to steam milk, and a jug with a spout. A barista milk jug gives you the most control over the stream. In a pinch, a creamer or any other vessel with a sharp lip will do, though pouring a clean pattern gets harder.
| Kit | What you need | Rough cost |
|---|---|---|
| Budget | A supermarket French press, a jug with a spout, a fine kitchen sieve, coffee, milk, cocoa | about 60 zł (roughly €14), off-the-shelf kit |
| Comfortable | AeroPress with a Fellow Prismo attachment, a jug with a spout, a French press for the milk, a cup, coffee, milk, cocoa | about 400 zł (roughly €93) |
Either way, I’m assuming you already have something to heat milk and water and something to grind coffee. Freshly ground coffee will make more difference here than the rest of the kit put together.
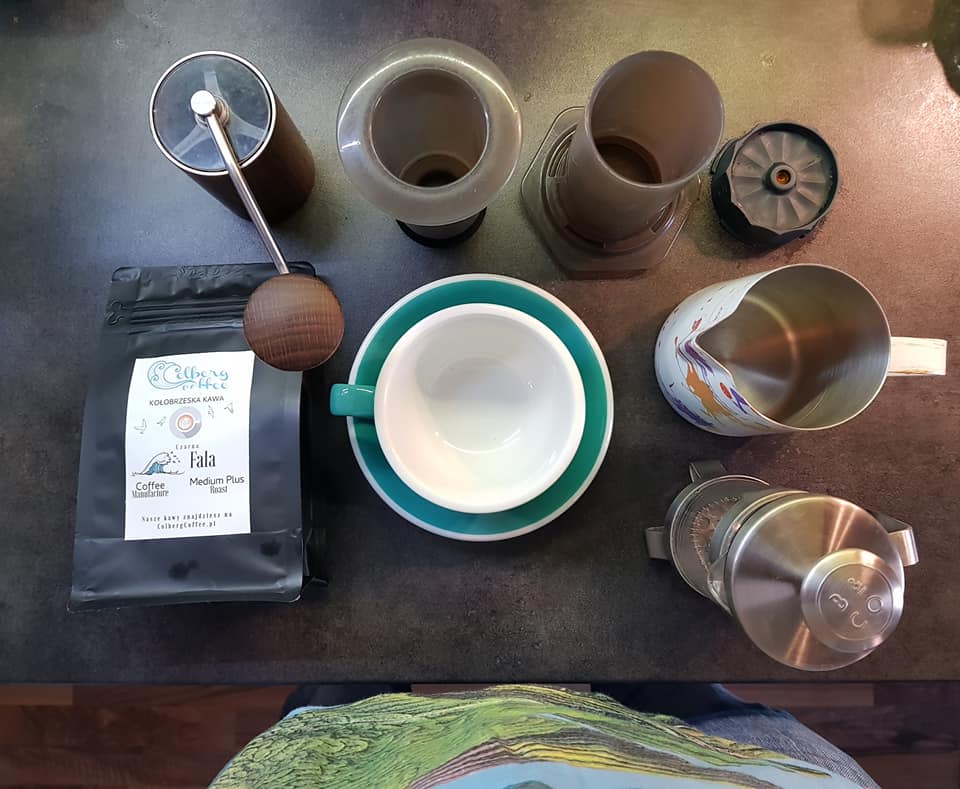
Step 1: a dark base for the pattern
The base needs to be strong and dark. Filter coffee is too pale and too thin, so the pattern just dissolves into it. You have three options.
AeroPress with a Prismo attachment. Rinse the filter, add 17 g of freshly ground coffee and pour in 60 ml of water at 92-94°C. Stir for 45 seconds, fit the plunger and press down firmly. That’s my own recipe, not a fixed standard. The Prismo has a pressure-activated valve, so the brew comes out concentrated and often keeps a layer of foam on top. That isn’t espresso crema: the AeroPress works at around 0.25-0.5 bar, against nine bar for an espresso machine.
Moka pot. The simplest route if you already own one. The brew is thick and dark, though without crema, with the exception of designs such as the Bialetti Brikka, which are built to produce a layer of foam on purpose.
A kitchen sieve. Pour 60 ml of water over 16 g of ground coffee, stir for 50 seconds and strain the brew through a fine sieve. This is the fallback option. A sieve won’t catch the finest particles, so the brew will have some sediment and can taste slightly gritty, but it’s good enough to pour a pattern.
With any of the three, you can dust the surface lightly with cocoa. It strengthens the dark background and makes it easier to get started, though the pattern works without it too. Use only a little: a thick layer of cocoa gets in the way of a free-flowing pour.
Step 2: milk, where most of the work happens
Start with milk straight from the fridge. Cold milk gives you more time before you overshoot the right temperature. Latte art usually uses full-fat cow’s milk, around 3.2%, and not because it foams the most: skimmed milk actually produces more foam. Foam is held together by protein. Fat is what gives the drink its flavour, its viscosity and the thick mouthfeel that makes it taste creamy.
Aim for 60-65°C. Protein denaturation starts gradually before that, and above 70°C you clearly lose both the flavour and your ability to get smooth microfoam. Without a thermometer, hold your hand against the side of the jug. Once it’s too hot to keep your hand there, you’re at the limit.
French press. Heat the milk to 60-65°C, pour it into the press and pump the plunger up and down. Don’t pull it above the surface, or you’ll over-aerate the milk and end up with stiff cappuccino foam instead of smooth microfoam. In my view a French press is an easier starting point for a beginner than a steam wand, though a wand gets you consistent, repeatable microfoam faster.
A handheld milk frother. Heat the milk and froth it for a few seconds. Quick and predictable.
A jar with a lid. Heat the milk, pour it into a sealed container and shake. The weakest result of the three, but good enough for your first attempts.
I cover more methods in a separate guide on how to froth milk at home without a machine. If you do have an espresso machine, our guide to steaming milk with a steam wand will help.
Step 3: pouring the pattern
Before you pour, tap the bottom of the jug on the worktop a few times and swirl the milk. Tapping brings the larger bubbles to the surface, where they burst. Swirling binds the foam back into the milk and slows down separation. The surface should look like a mirror.
The base pour. Pour from about ten centimetres up, in a circular motion, into the centre of the cup. From that height the stream punches through the surface and the white foam stays hidden underneath. For a heart I fill the cup to roughly two-thirds this way, though it depends on the cup and how much foam you have. In a bigger cup, the drawing stage starts later.
The drawing stage. Bring the jug down low, almost to the surface, and increase the flow. The foam now stays on top and forms a white blob. That’s your dot.
The cut. When the cup is nearly full, lift the jug slightly to thin the stream, then drag it through the centre of the white blob to the opposite edge. The dot turns into a heart.
The most common beginner mistake is pouring from the same height the whole time. The base pour from up high and the drawing stage down low are two separate actions, not one continuous movement.
Heart, tulip and rosetta: where to start
The whole of latte art is built on three patterns, practised in this order. The heart is one dot and one cut. The tulip is several dots pushed up against each other, finished with a single cut. The rosetta comes from a dot wagged from side to side, drawn back across the cup and then cut.
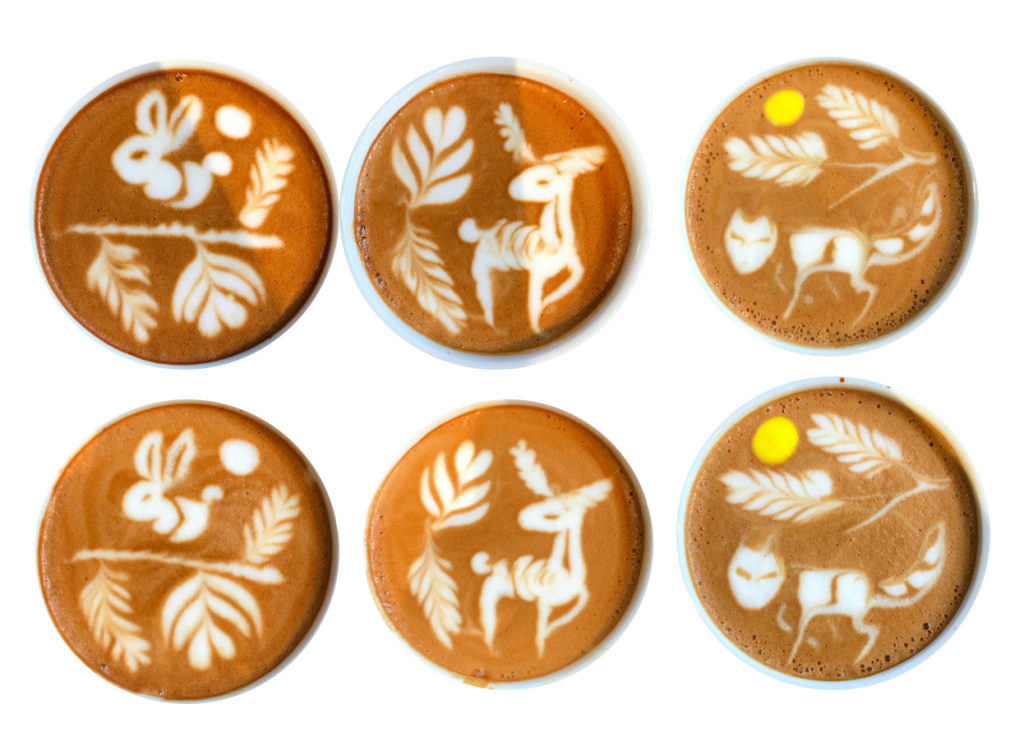
The elaborate pictures you see from world champions, deer and rabbits in a forest, all grow out of these three patterns. What’s added on top is extra movement, changes in flow and wrist work on the hand holding the cup. There’s no shortcut past the basics, though. Start with the heart and repeat it a few dozen times before you move on to the tulip.
I’ve written up the heart step by step in a separate guide on how to pour a heart in your coffee.
A shortcut: patterns from a stencil
If you want an instant result while you’re still working on your pour, use a stencil. Steam the milk, pour it into the cup normally, hold the stencil just above the surface and sift cocoa through it.
You can cut a stencil out of baking paper or an old milk carton, just a simple shape with a craft knife. Dust the cocoa onto the milk, not the other way round, and don’t let the stencil touch the foam or it will stick and leave a smudge.
It isn’t latte art in the strict sense, since the pattern doesn’t come from the movement of the milk, but it works better for a child’s drink or a birthday than a rosetta that hasn’t come off.
Five reasons your pattern isn’t working
The milk is too hot. Above 70°C the foam loses its smoothness and won’t pour cleanly, and the drink starts tasting of boiled milk. There’s no fixing this: you need to start again with fresh milk.
Too much air. The foam looks like it came out of a dispenser, sitting in a stiff mound instead of blending into the milk. With a French press, that usually means the plunger came up above the surface.
A base that’s too pale. On filter coffee or a watered-down brew the pattern barely shows, because there isn’t enough contrast. That’s exactly why cocoa helps.
Waiting too long. Steamed milk separates fast, so pour it within about thirty seconds of finishing. The coffee should be waiting for the milk, not the other way round.
A stream that’s too timid. A thin, hesitant pour from a single height won’t break through the crema or settle the foam. The drawing stage needs a confident, deliberate movement.
Watch it done
The video below walks through the whole process: preparing the milk, the base pour, drawing and the cut.
FAQ: latte art patterns at home
How do you make latte art patterns without an espresso machine?
You need a dark base, steamed milk and a jug with a spout. Make the base with an AeroPress and Prismo attachment, a moka pot, or a strong brew strained through a fine sieve. Steam the milk in a French press. A barista milk jug gives you the most control, but a creamer or any vessel with a sharp lip will do in a pinch.
How do you steam milk for latte art without an espresso machine?
Heat the milk to 60-65°C, pour it into a French press and pump the plunger up and down without pulling it above the surface. The foam should be smooth and pour like thin yoghurt, not stiff. Alternatives are a handheld milk frother or shaking the milk in a sealed jar.
Which milk froths best for latte art?
Usually full-fat cow’s milk, around 3.2%, straight from the fridge. Skimmed milk actually produces more foam, since foam is held together by protein, but fat is what gives the flavour and the creamy mouthfeel. Plant-based drinks can froth well too. Versions labelled “barista” aren’t essential, just more stable and less likely to split in hot, acidic coffee.
What temperature should milk be for latte art?
60-65°C. Above 70°C the foam loses its smoothness and the milk starts tasting boiled. Without a thermometer, check with your hand against the side of the jug: once it’s too hot to keep it there, you’re at the limit.
Why does my latte art pattern keep smearing?
Usually for one of three reasons: the milk has too much air and won’t blend with the coffee, the base is too pale so there’s no contrast, or you’re pouring from the same height the whole time. The base pour should come from about ten centimetres up, the drawing stage almost at the surface.
Can you make a latte art pattern using a stencil?
Yes. Pour steamed milk into the cup, hold a stencil just above the surface and sift cocoa through it. Don’t let the stencil touch the foam or it will stick. It isn’t latte art in the strict sense, but the result is instant.
